Cooking diary of Hokkai staff:
Let’s have a wonderful new year with gorgeous ozoni made with Hokkai products!

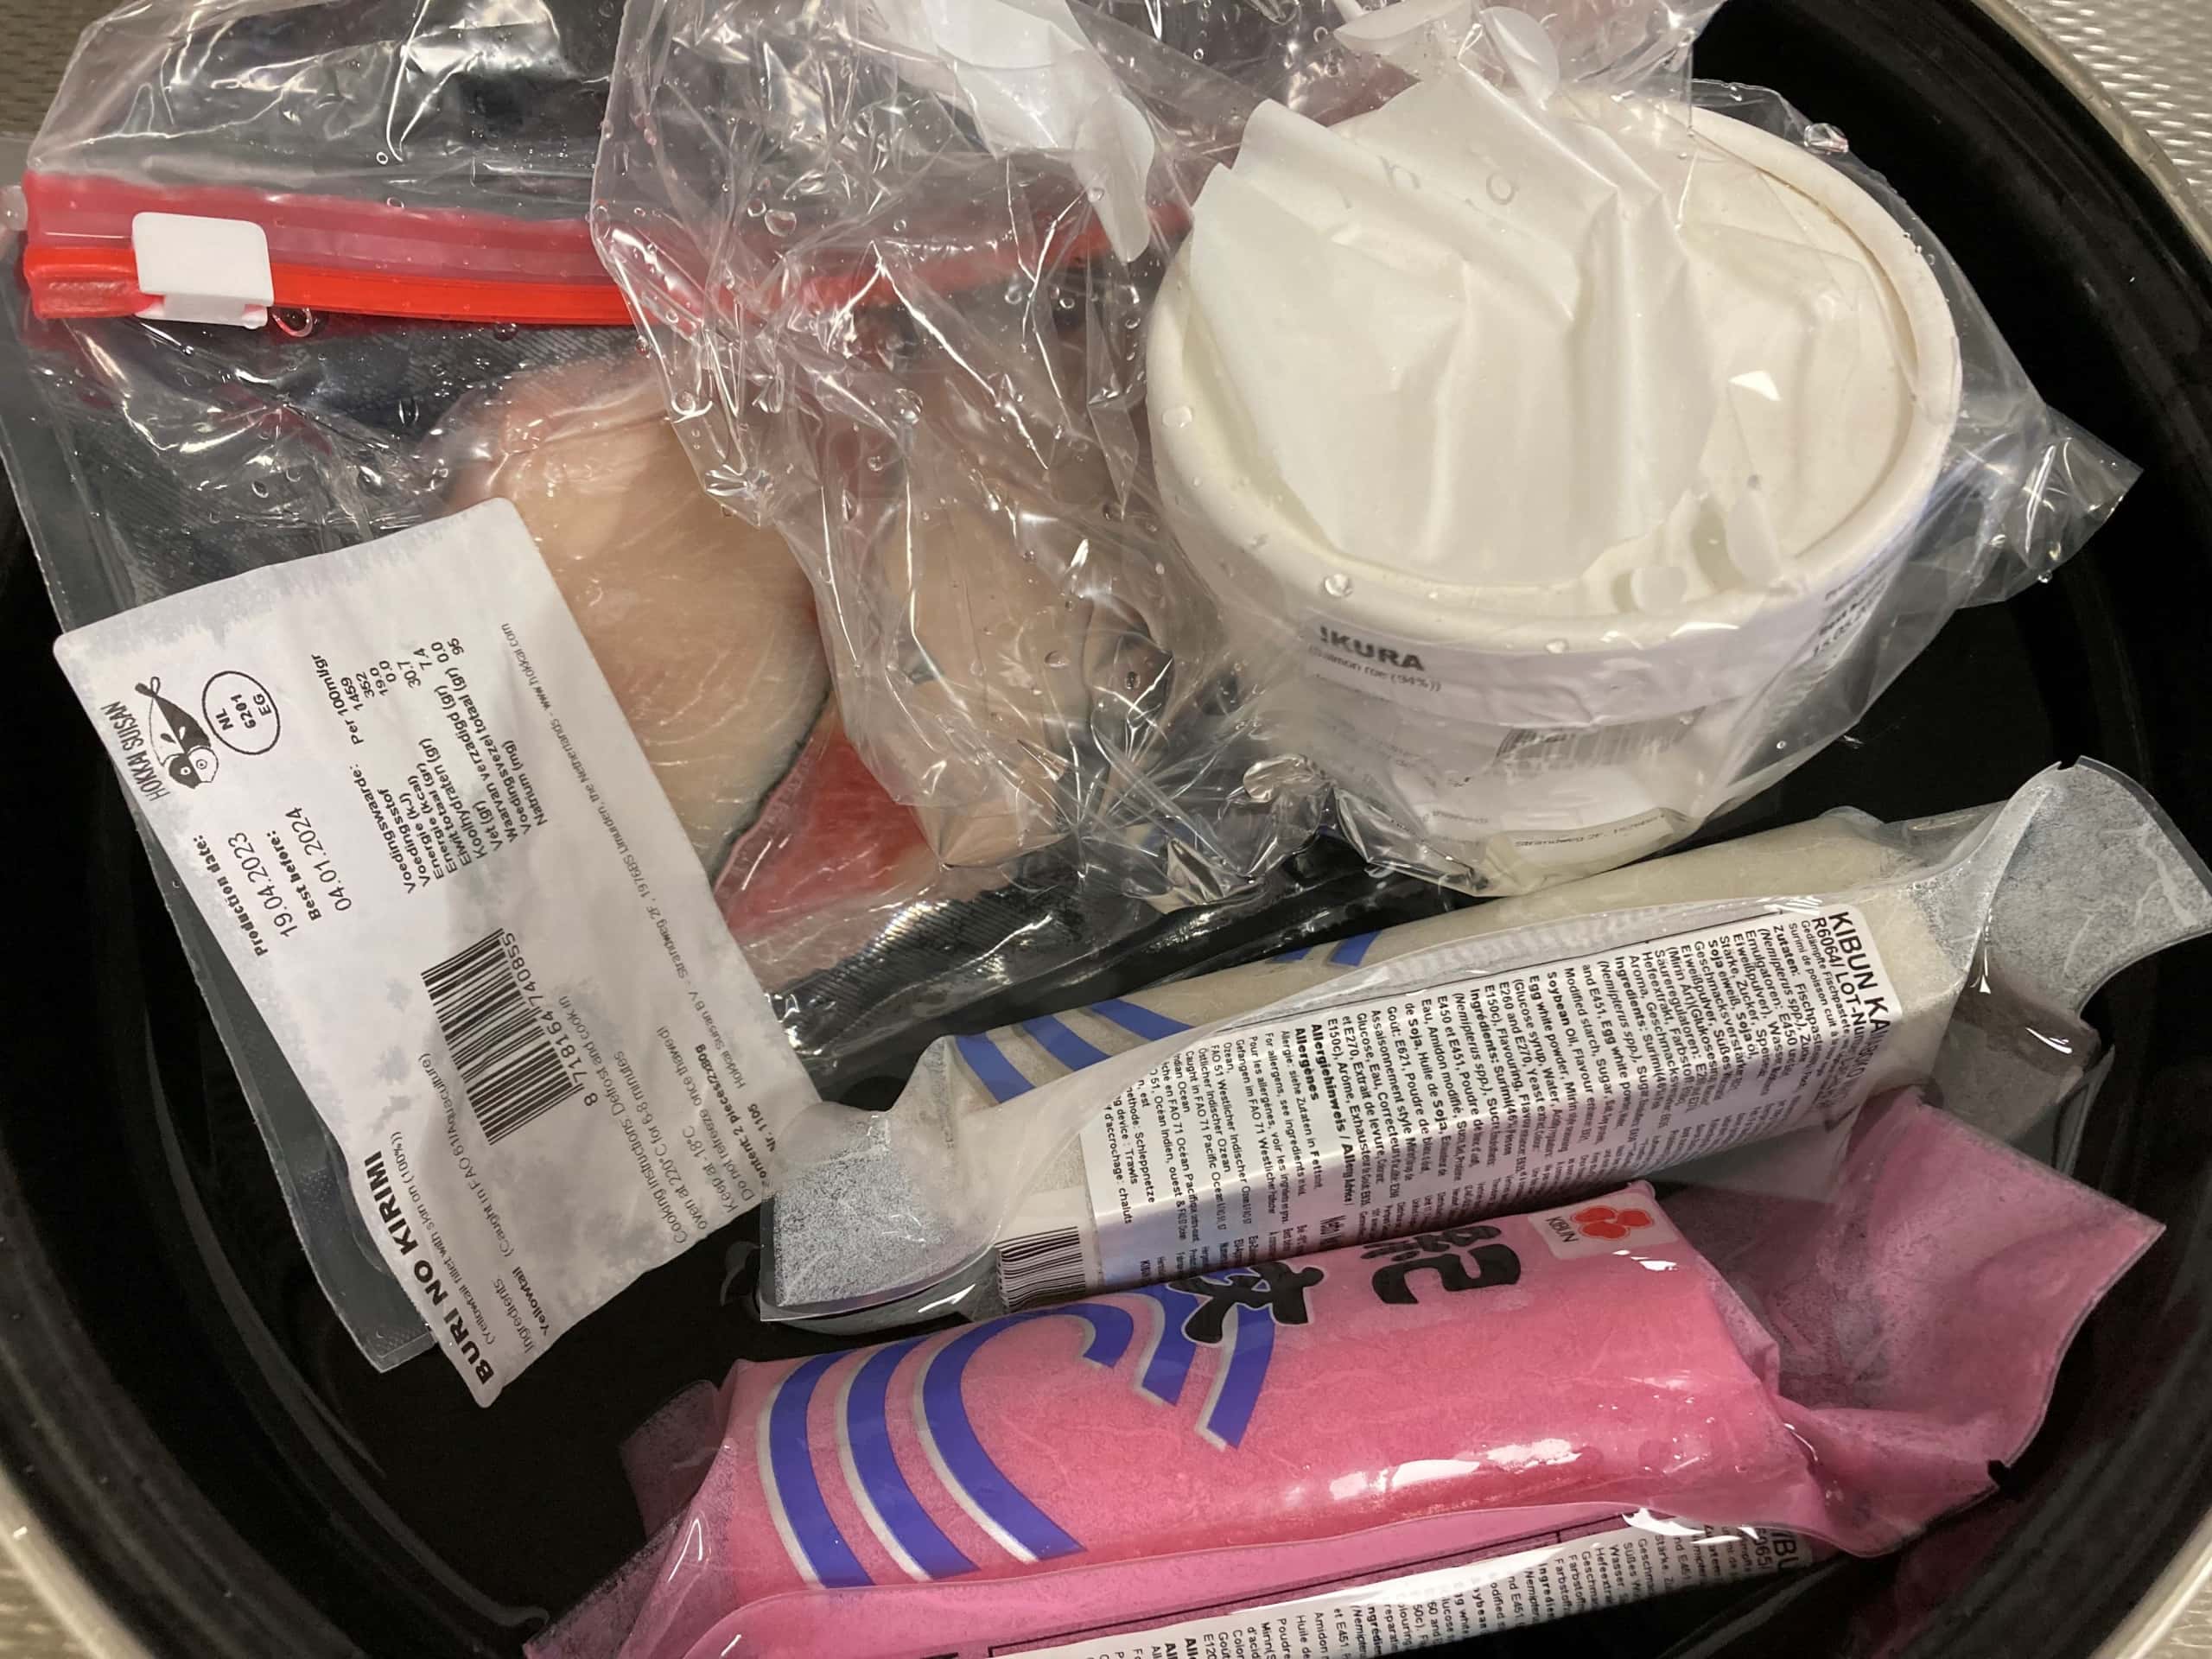
Products used in this recipe


Introduction
As we are well into autumn, we see the end of the year fast approaching.This time, using products from Hokkai Suisan, Naomi made "Ozoni", which is essential for New Year's. She made a gorgeous ozoni soup with broth from bonito flakes and topped with yellowtail, shrimp, and salmon roe!
Mochi (Japanese rice cake) is hard to find in regular supermarkets, but you can make it yourself with tofu and potato starch. (Search with the words "Mochi, tofu and starch")
Although salmon roe sinks to the bottom of the bowl while you eat ozoni, once you've finished eating the other ingredients and all you have to do is drink the soup, the unique flavor and saltiness of salmon roe becomes a nice accent. That makes an ozoni you can enjoy till the last sip.
I happened to have "Mitsuba leaves" on hand, but if you don't have them, you can add some color with spring onions or spinach.
I'm sure many Japanese households already have their own traditional ozoni recipe, but please try using this recipe as well.
In Japan, Ozoni is a standard New Year's dish, enjoyed all over the country. While I was wondering about this, my colleague Saki kindly looked up the following information about ozoni.
There are over 100 types of Japanese ozoni, and there are many different types and recipes depending on each region and family. Ozoni can be roughly divided into three parts: soup, mochi, and toppings, and there are the following types of each. Soup: clear soup, miso soup, sweet red bean soup Mochi: square mochi, round mochi, sweet red beans filled round mochi, baked or cooked Toppings: seafood such as yellowtail, Spanish mackerel, salmon roe, and fish cakes, meat (chicken), grilled tofu, vegetables such as radish, carrot, burdock, shiitake mushroom, Japanese mustard spinach, mitsuba, and taro.
These are typical examples, but the combinations vary depending on the area you live in or family. The local culture, specialties, recipes and tastes that have been passed down in families for generations, may be reflected in ozoni.
Reference source:
https://www.maff.go.jp/j/pr/aff/2001/spe2_03.html
https://www.ozoni-zukan.jp/
Please welcome the new year with delicious ozoni recipes using Hokkai Suisan products!
Preparation
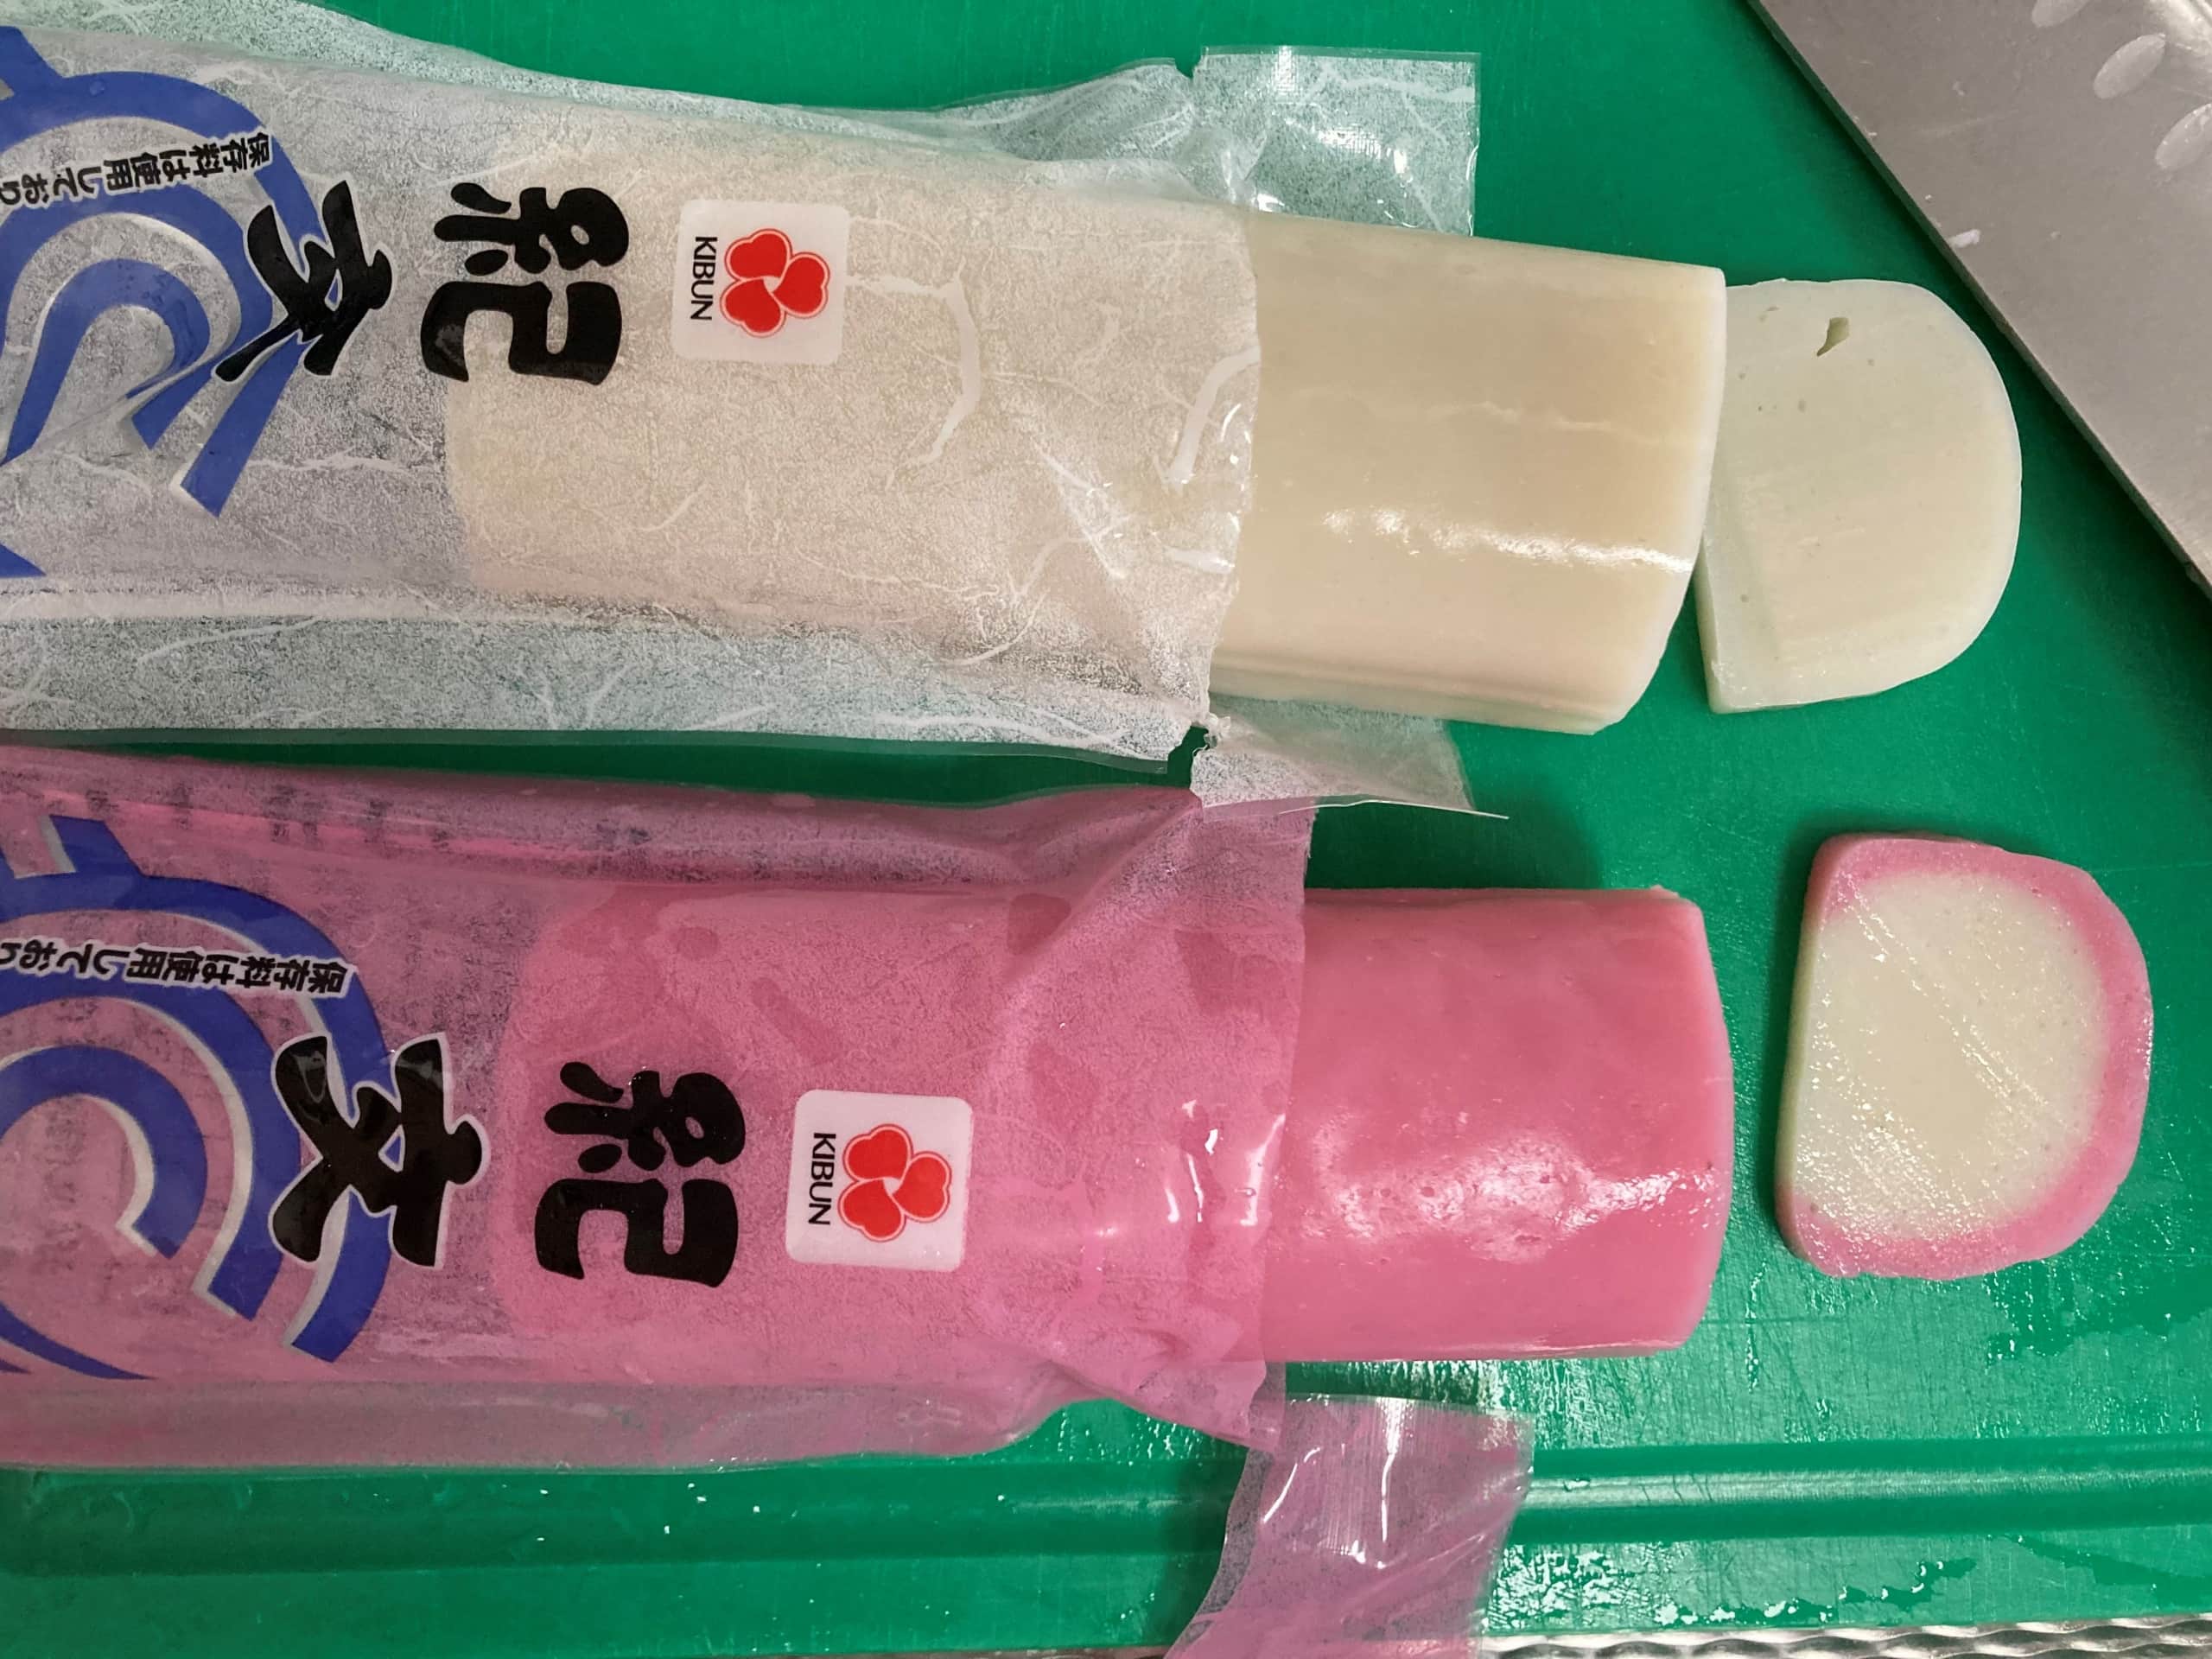
- Defrost yellowtail, shrimp, kamaboko, and salmon roe by laying the unopened packages in cold water.
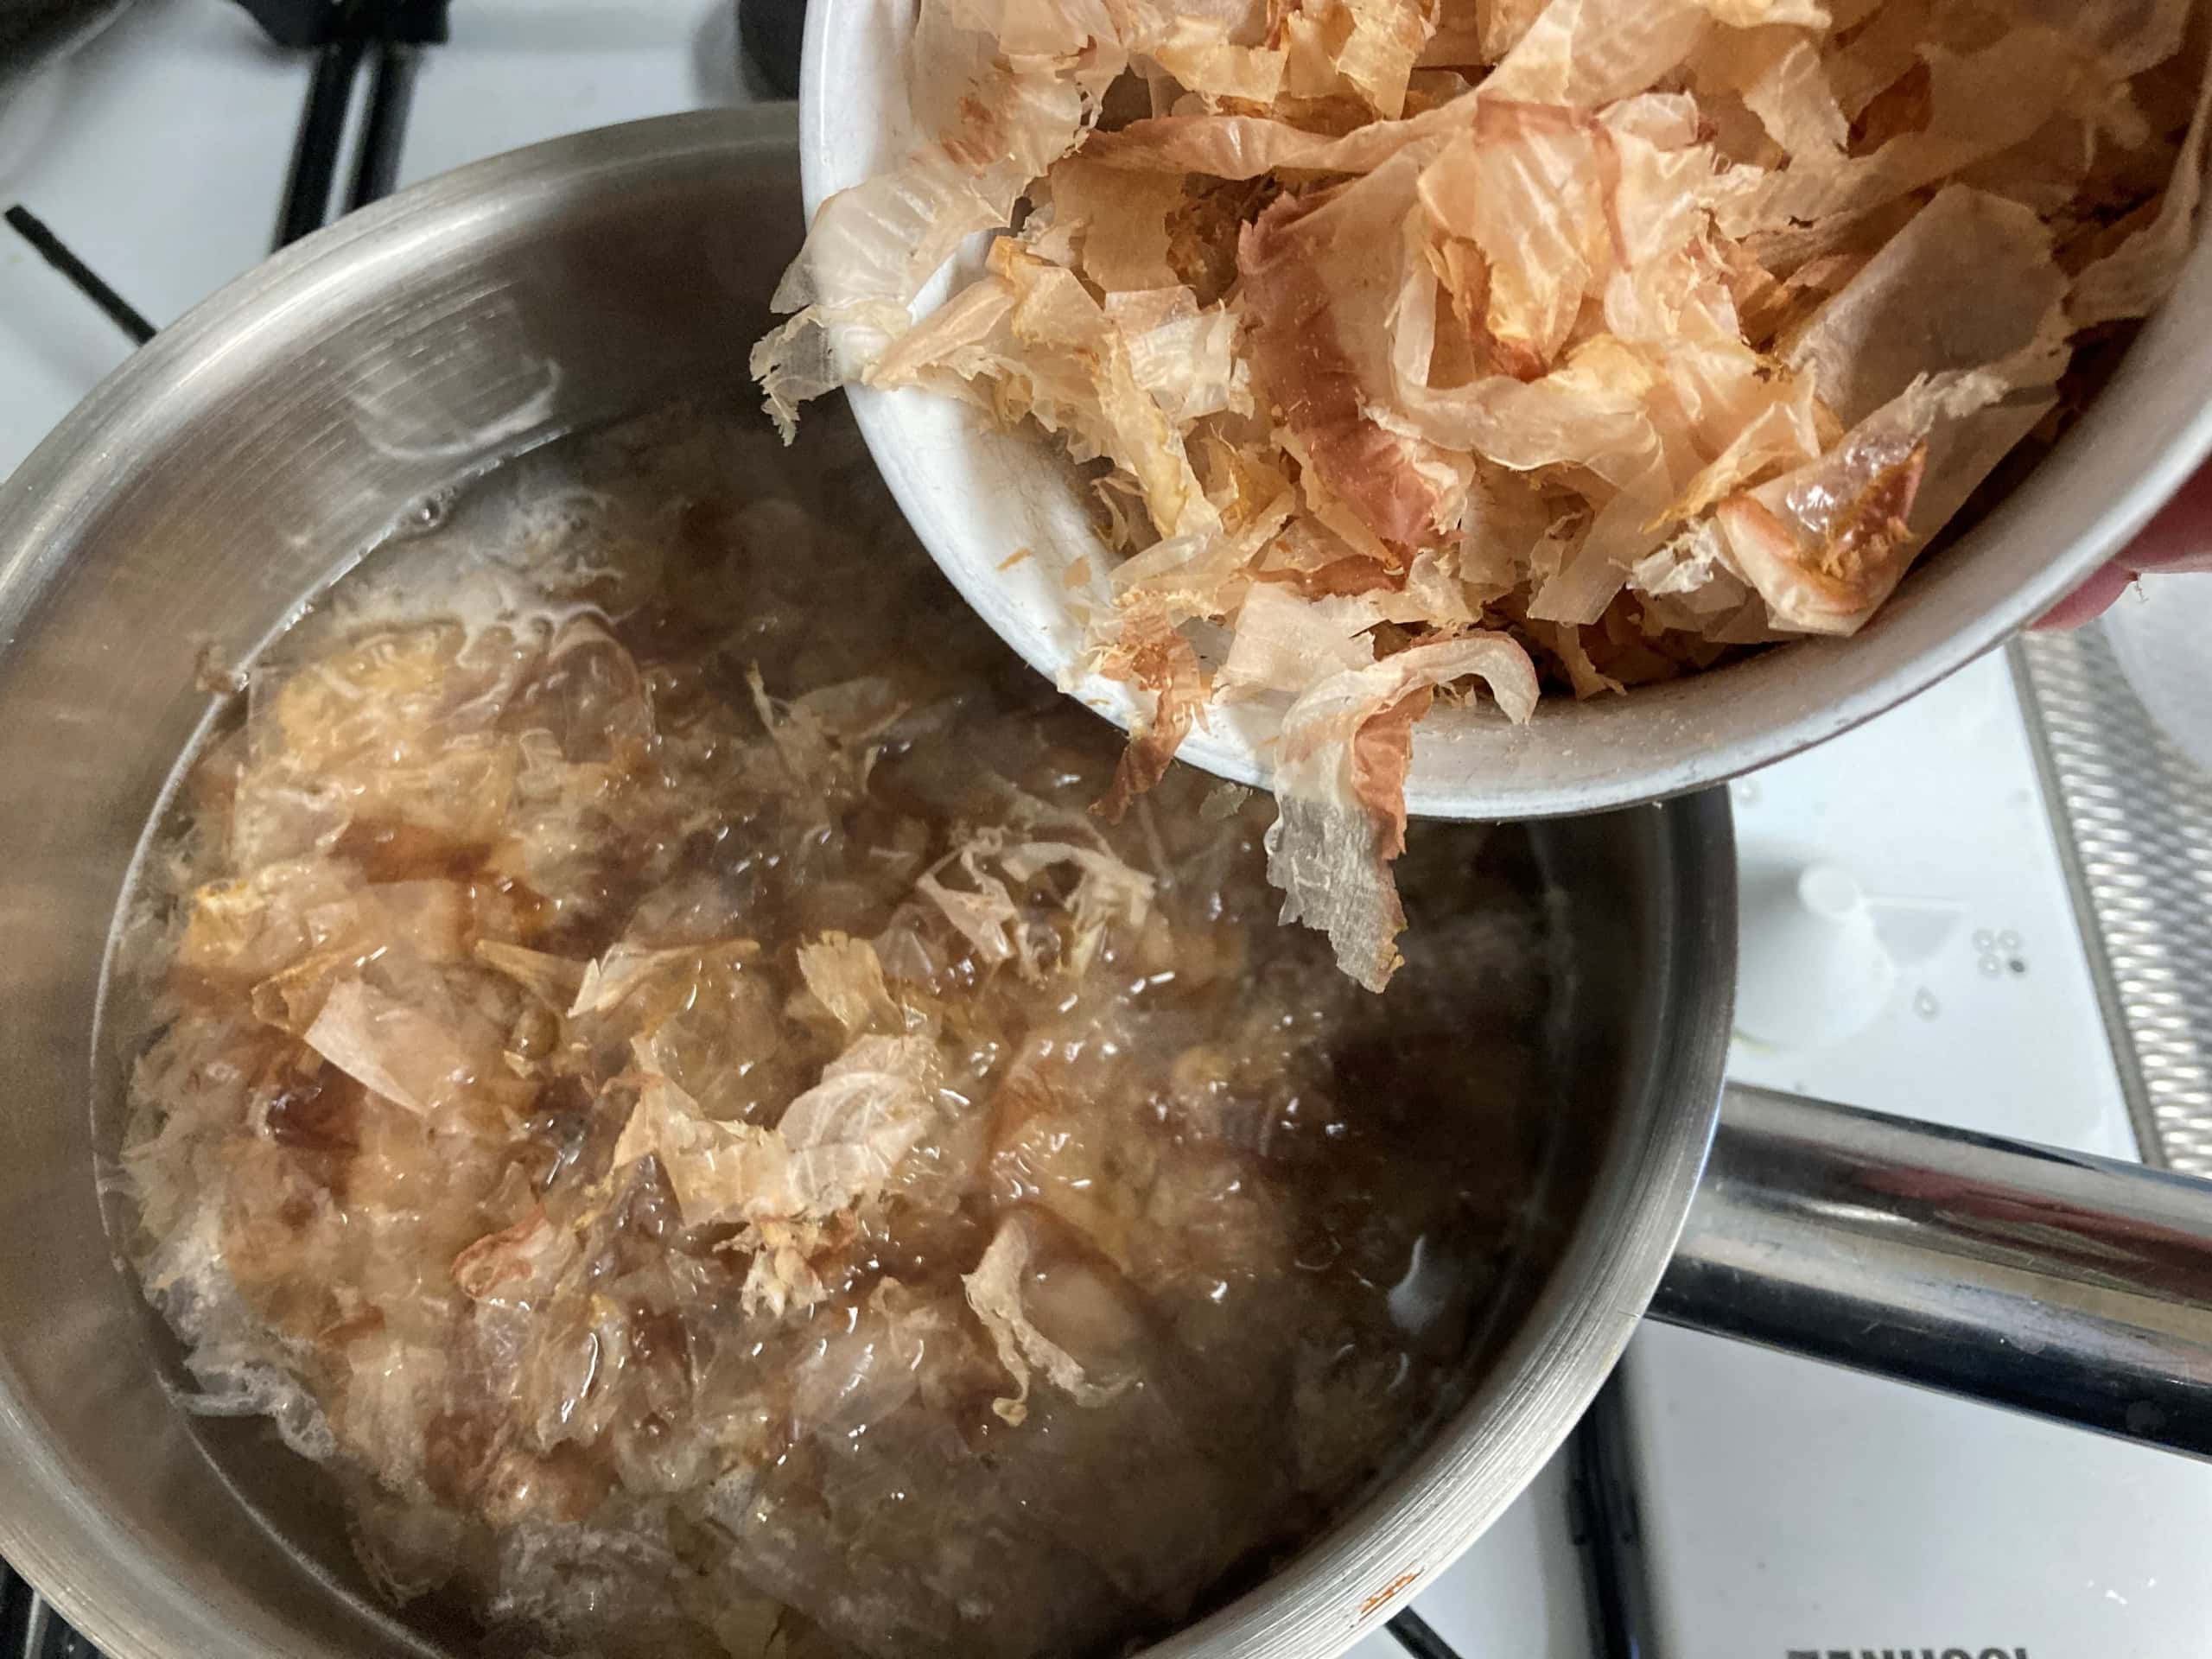
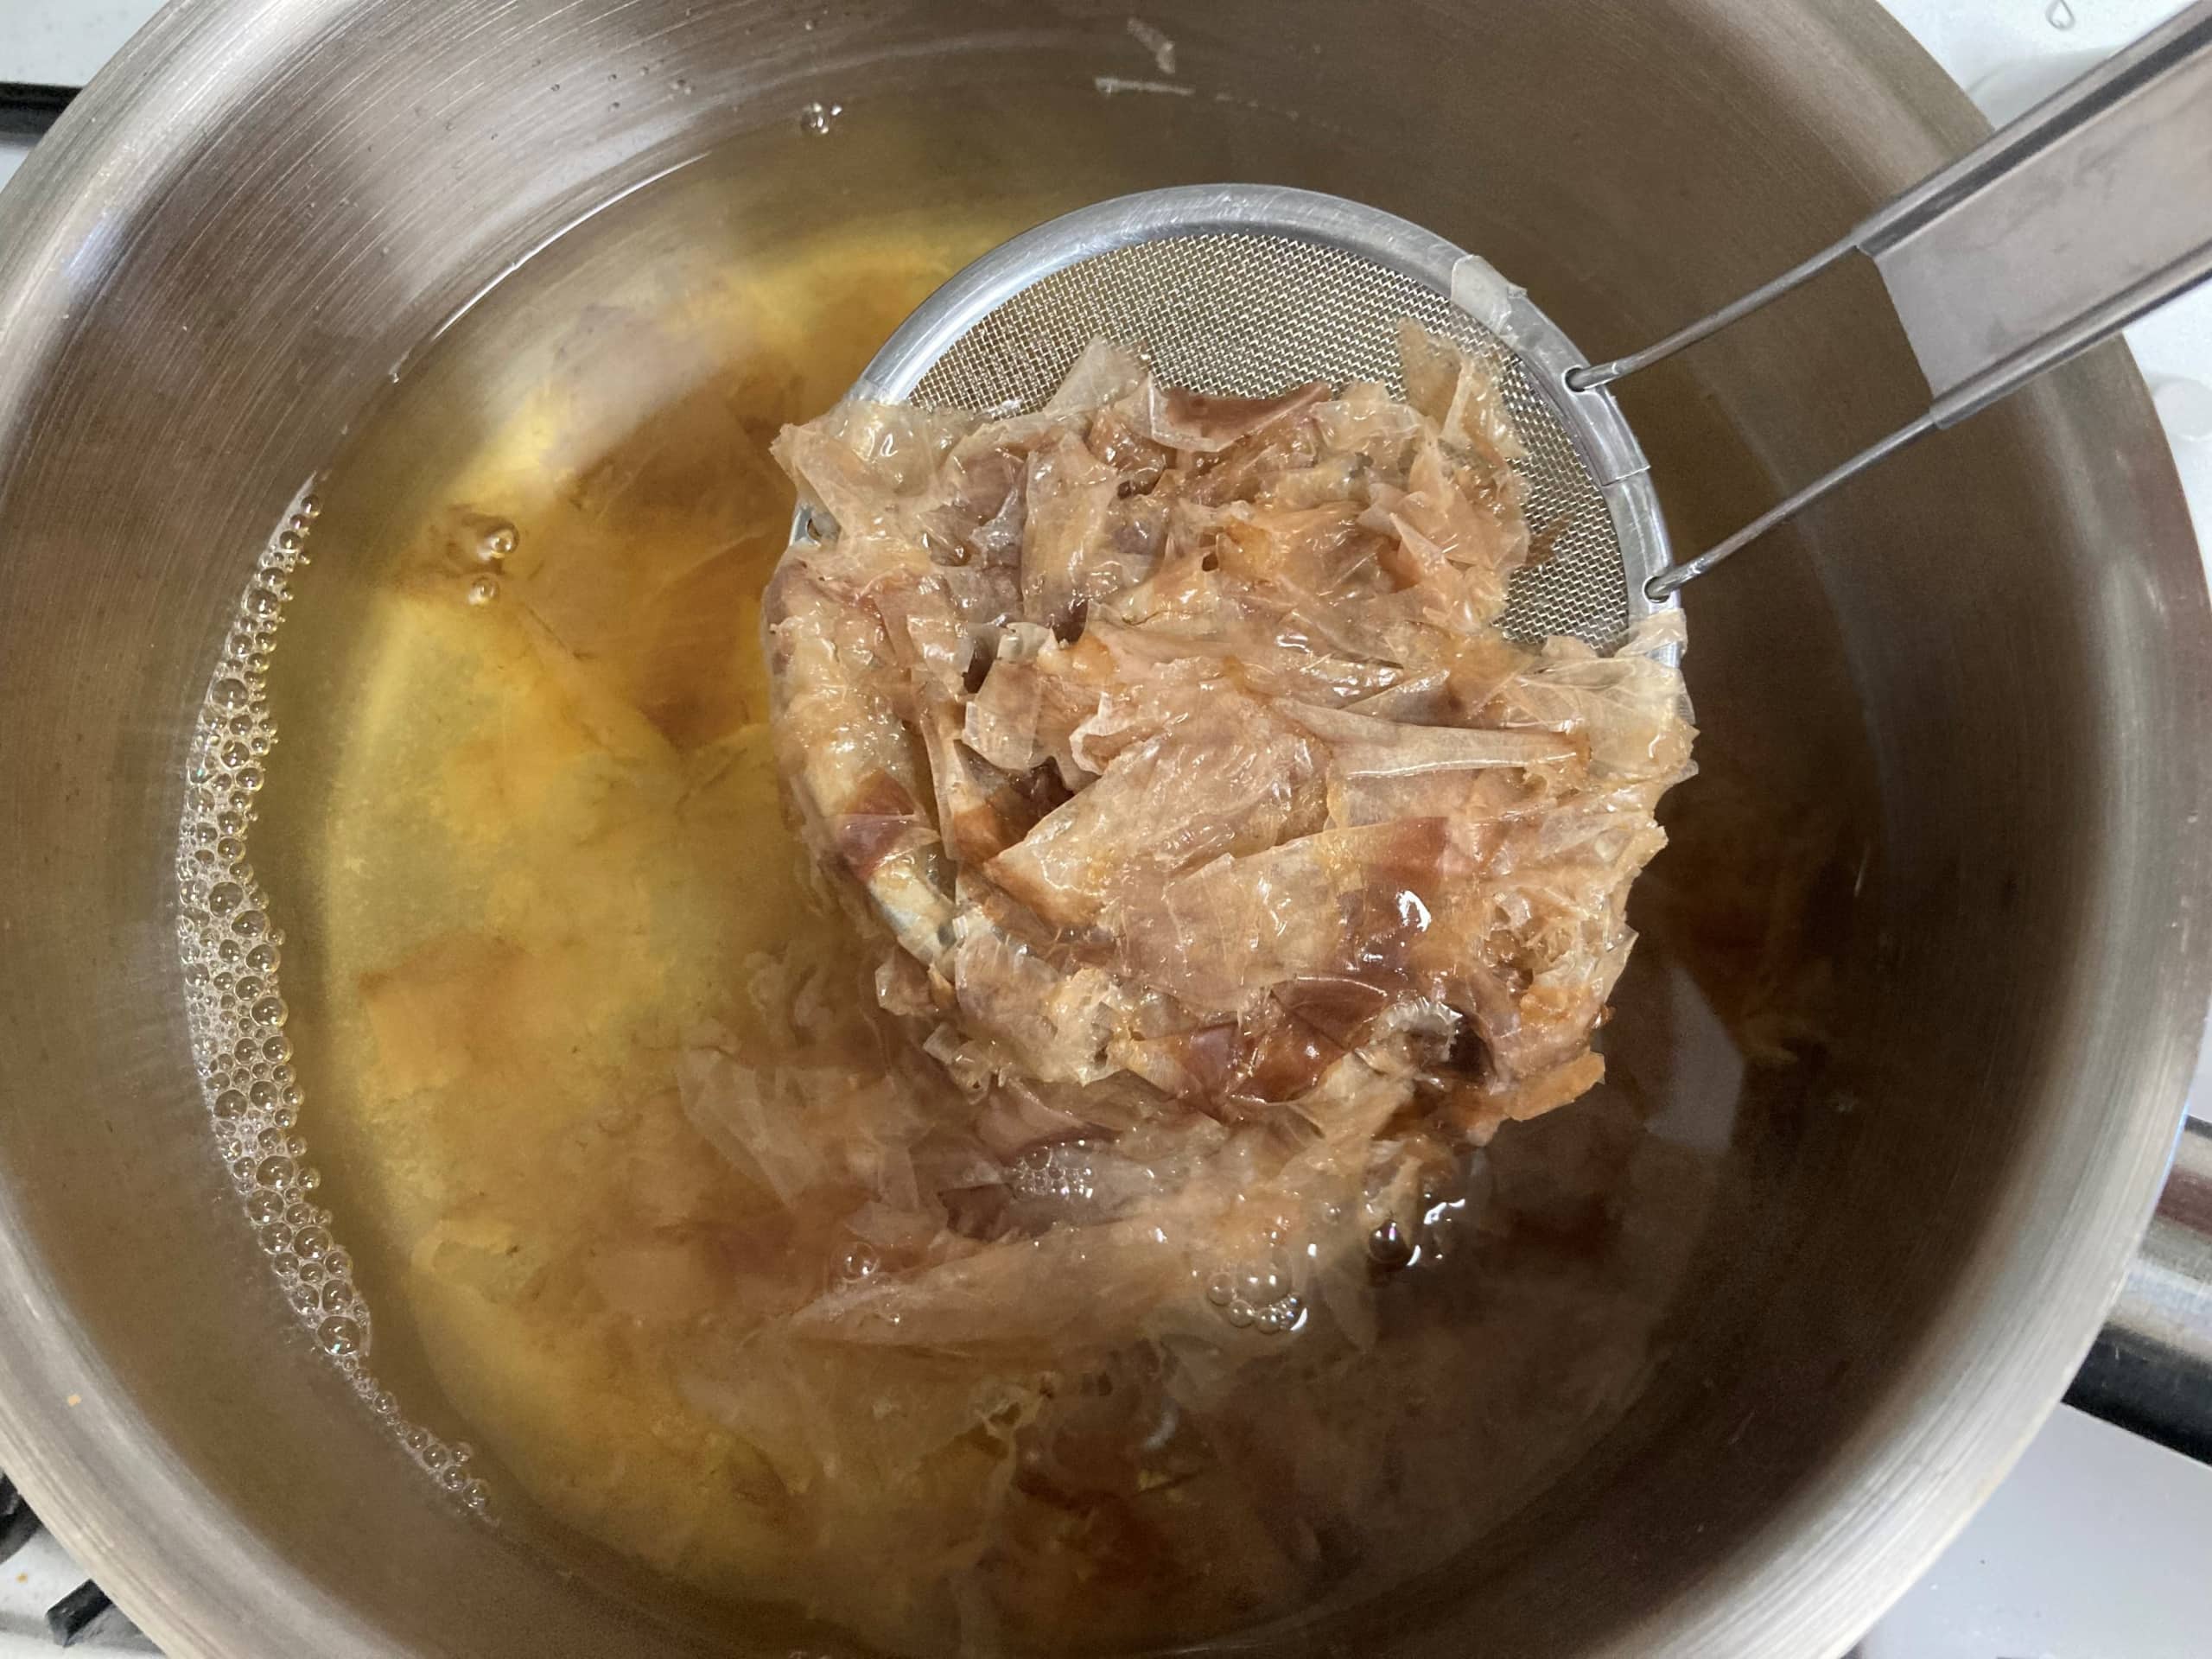
- Pour water into a pot and bring to a boil. After boiling, turn off the heat and add the bonito flakes. Wait 1 to 2 minutes until the bonito flakes sink to the bottom of the pot, then strain through a colander. (This time, I scooped out the bonito flakes with a strainer.)
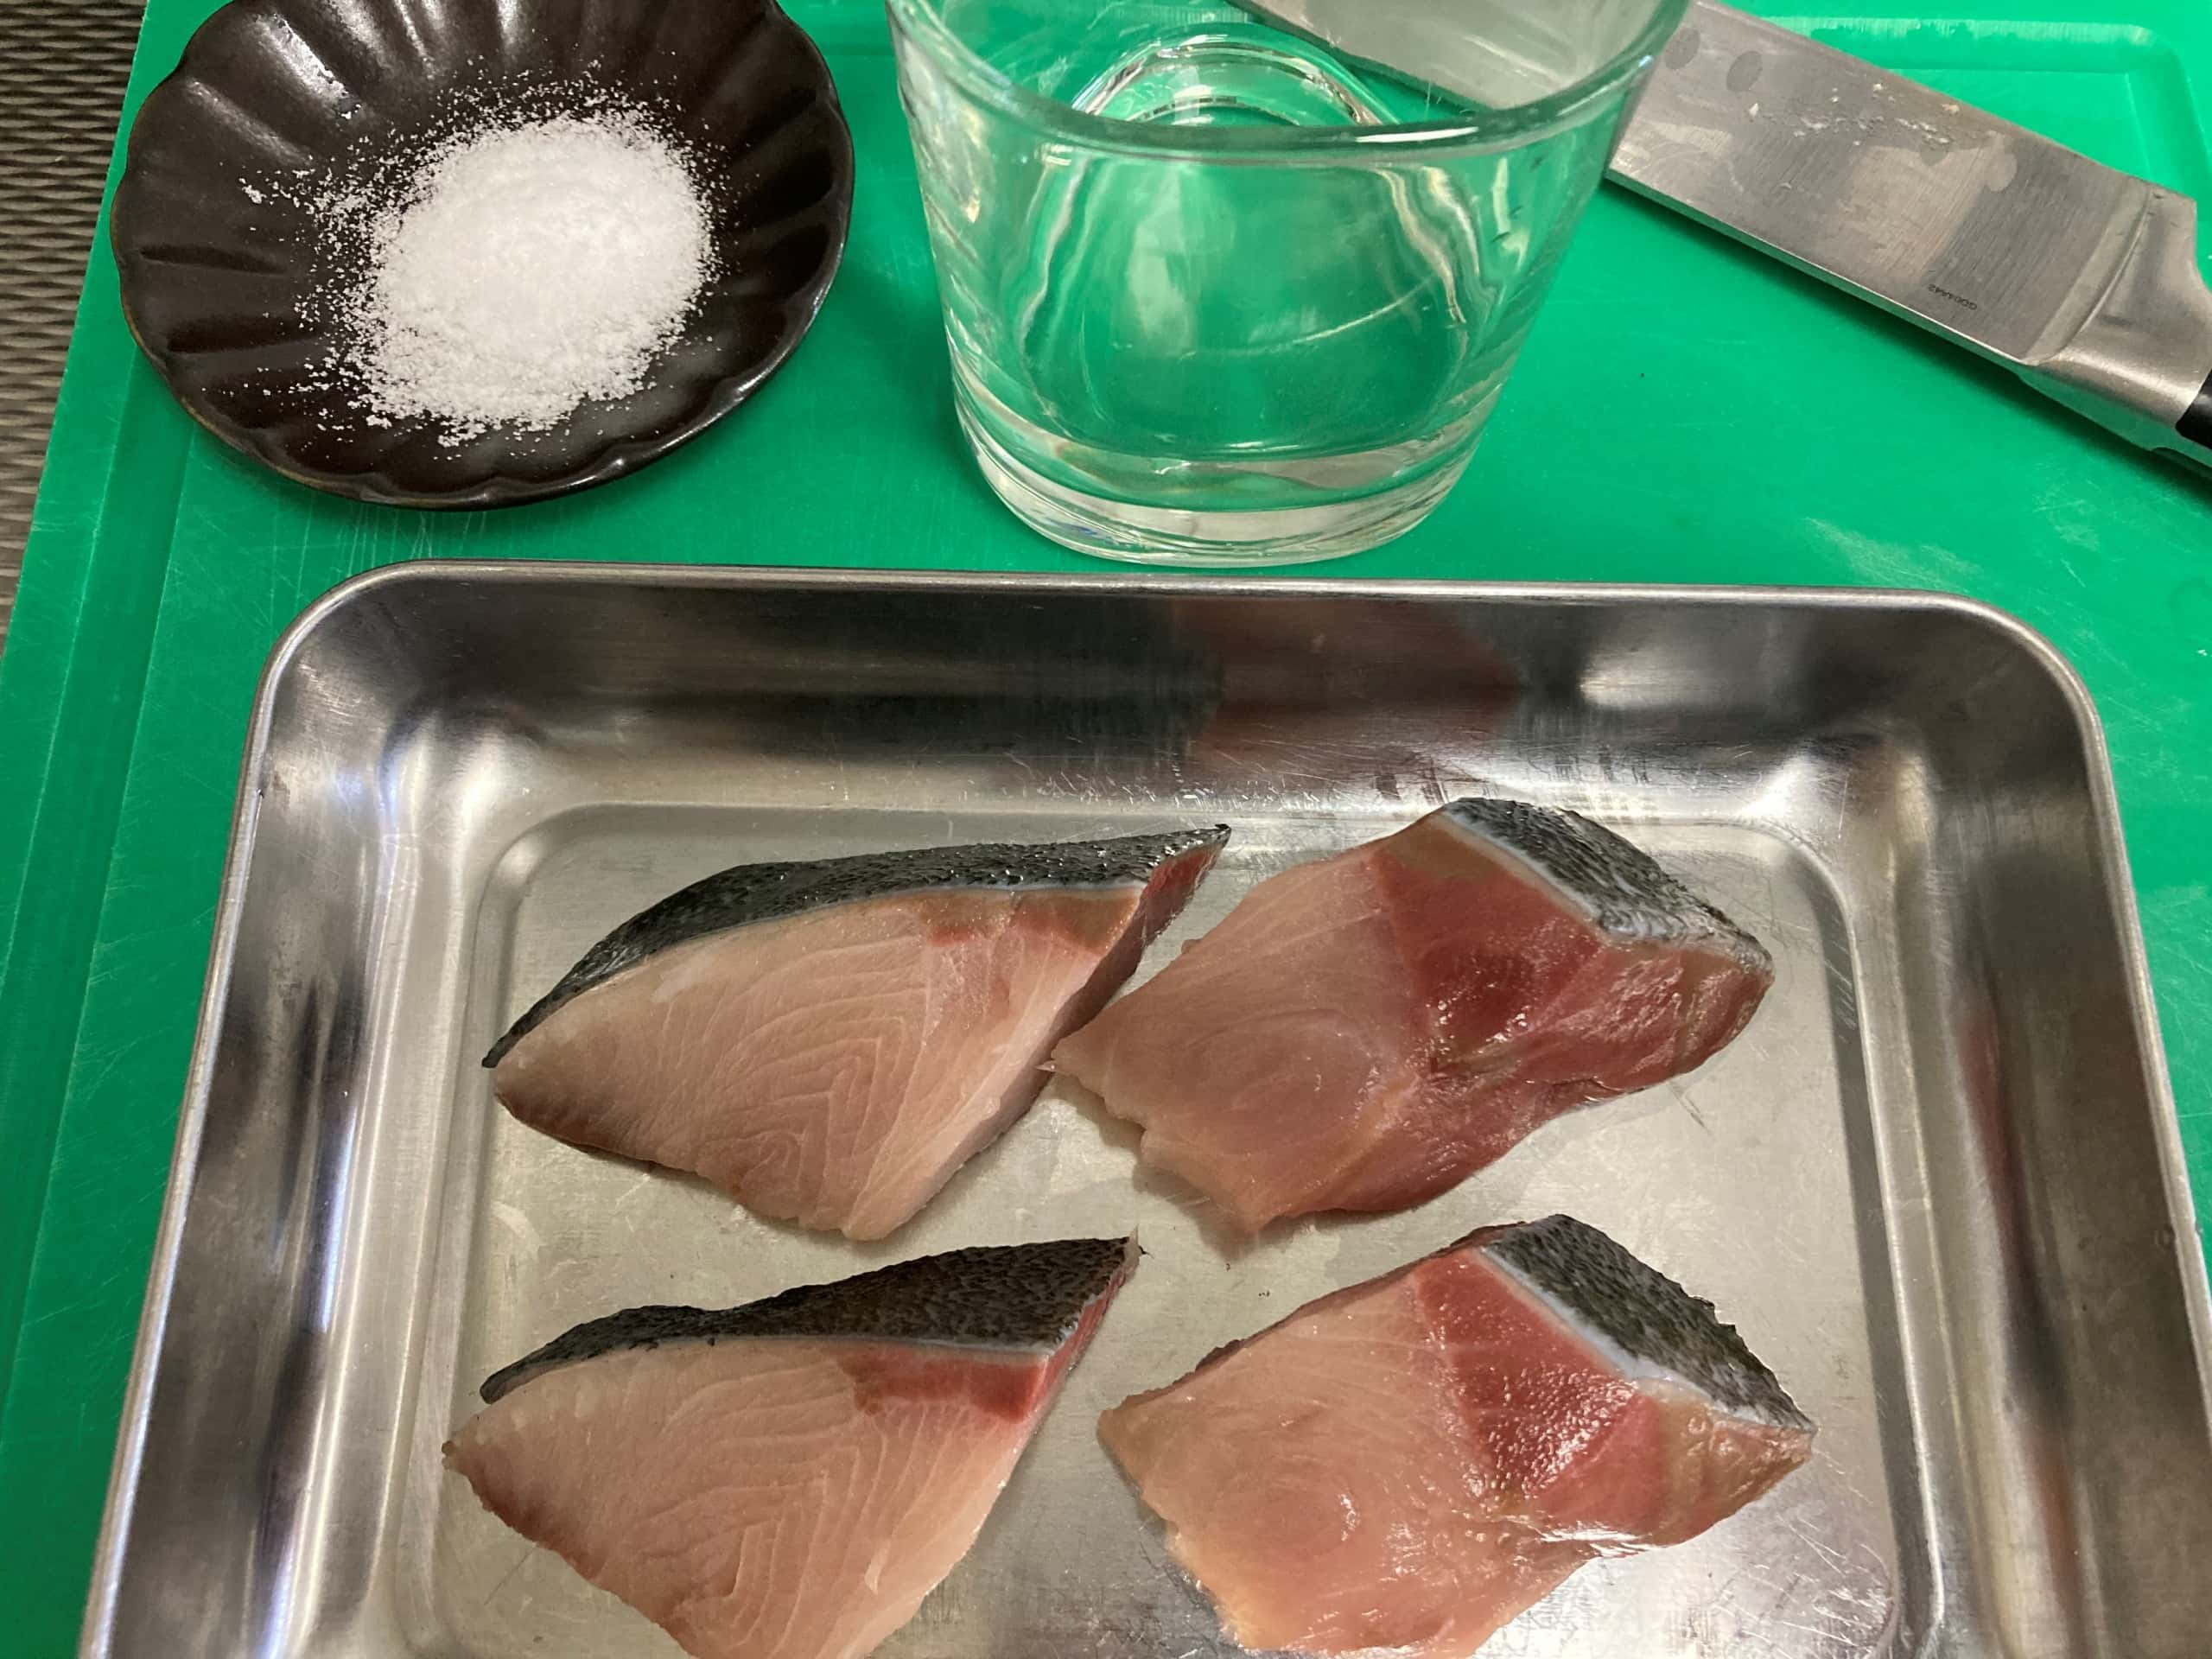
- Cut the yellowtail fillet in half, put it in an cooking tray, sprinkle with salt and sake, and let it sit for about 15 minutes. Place it in an oven preheated to 230°C and bake for about 10 minutes.
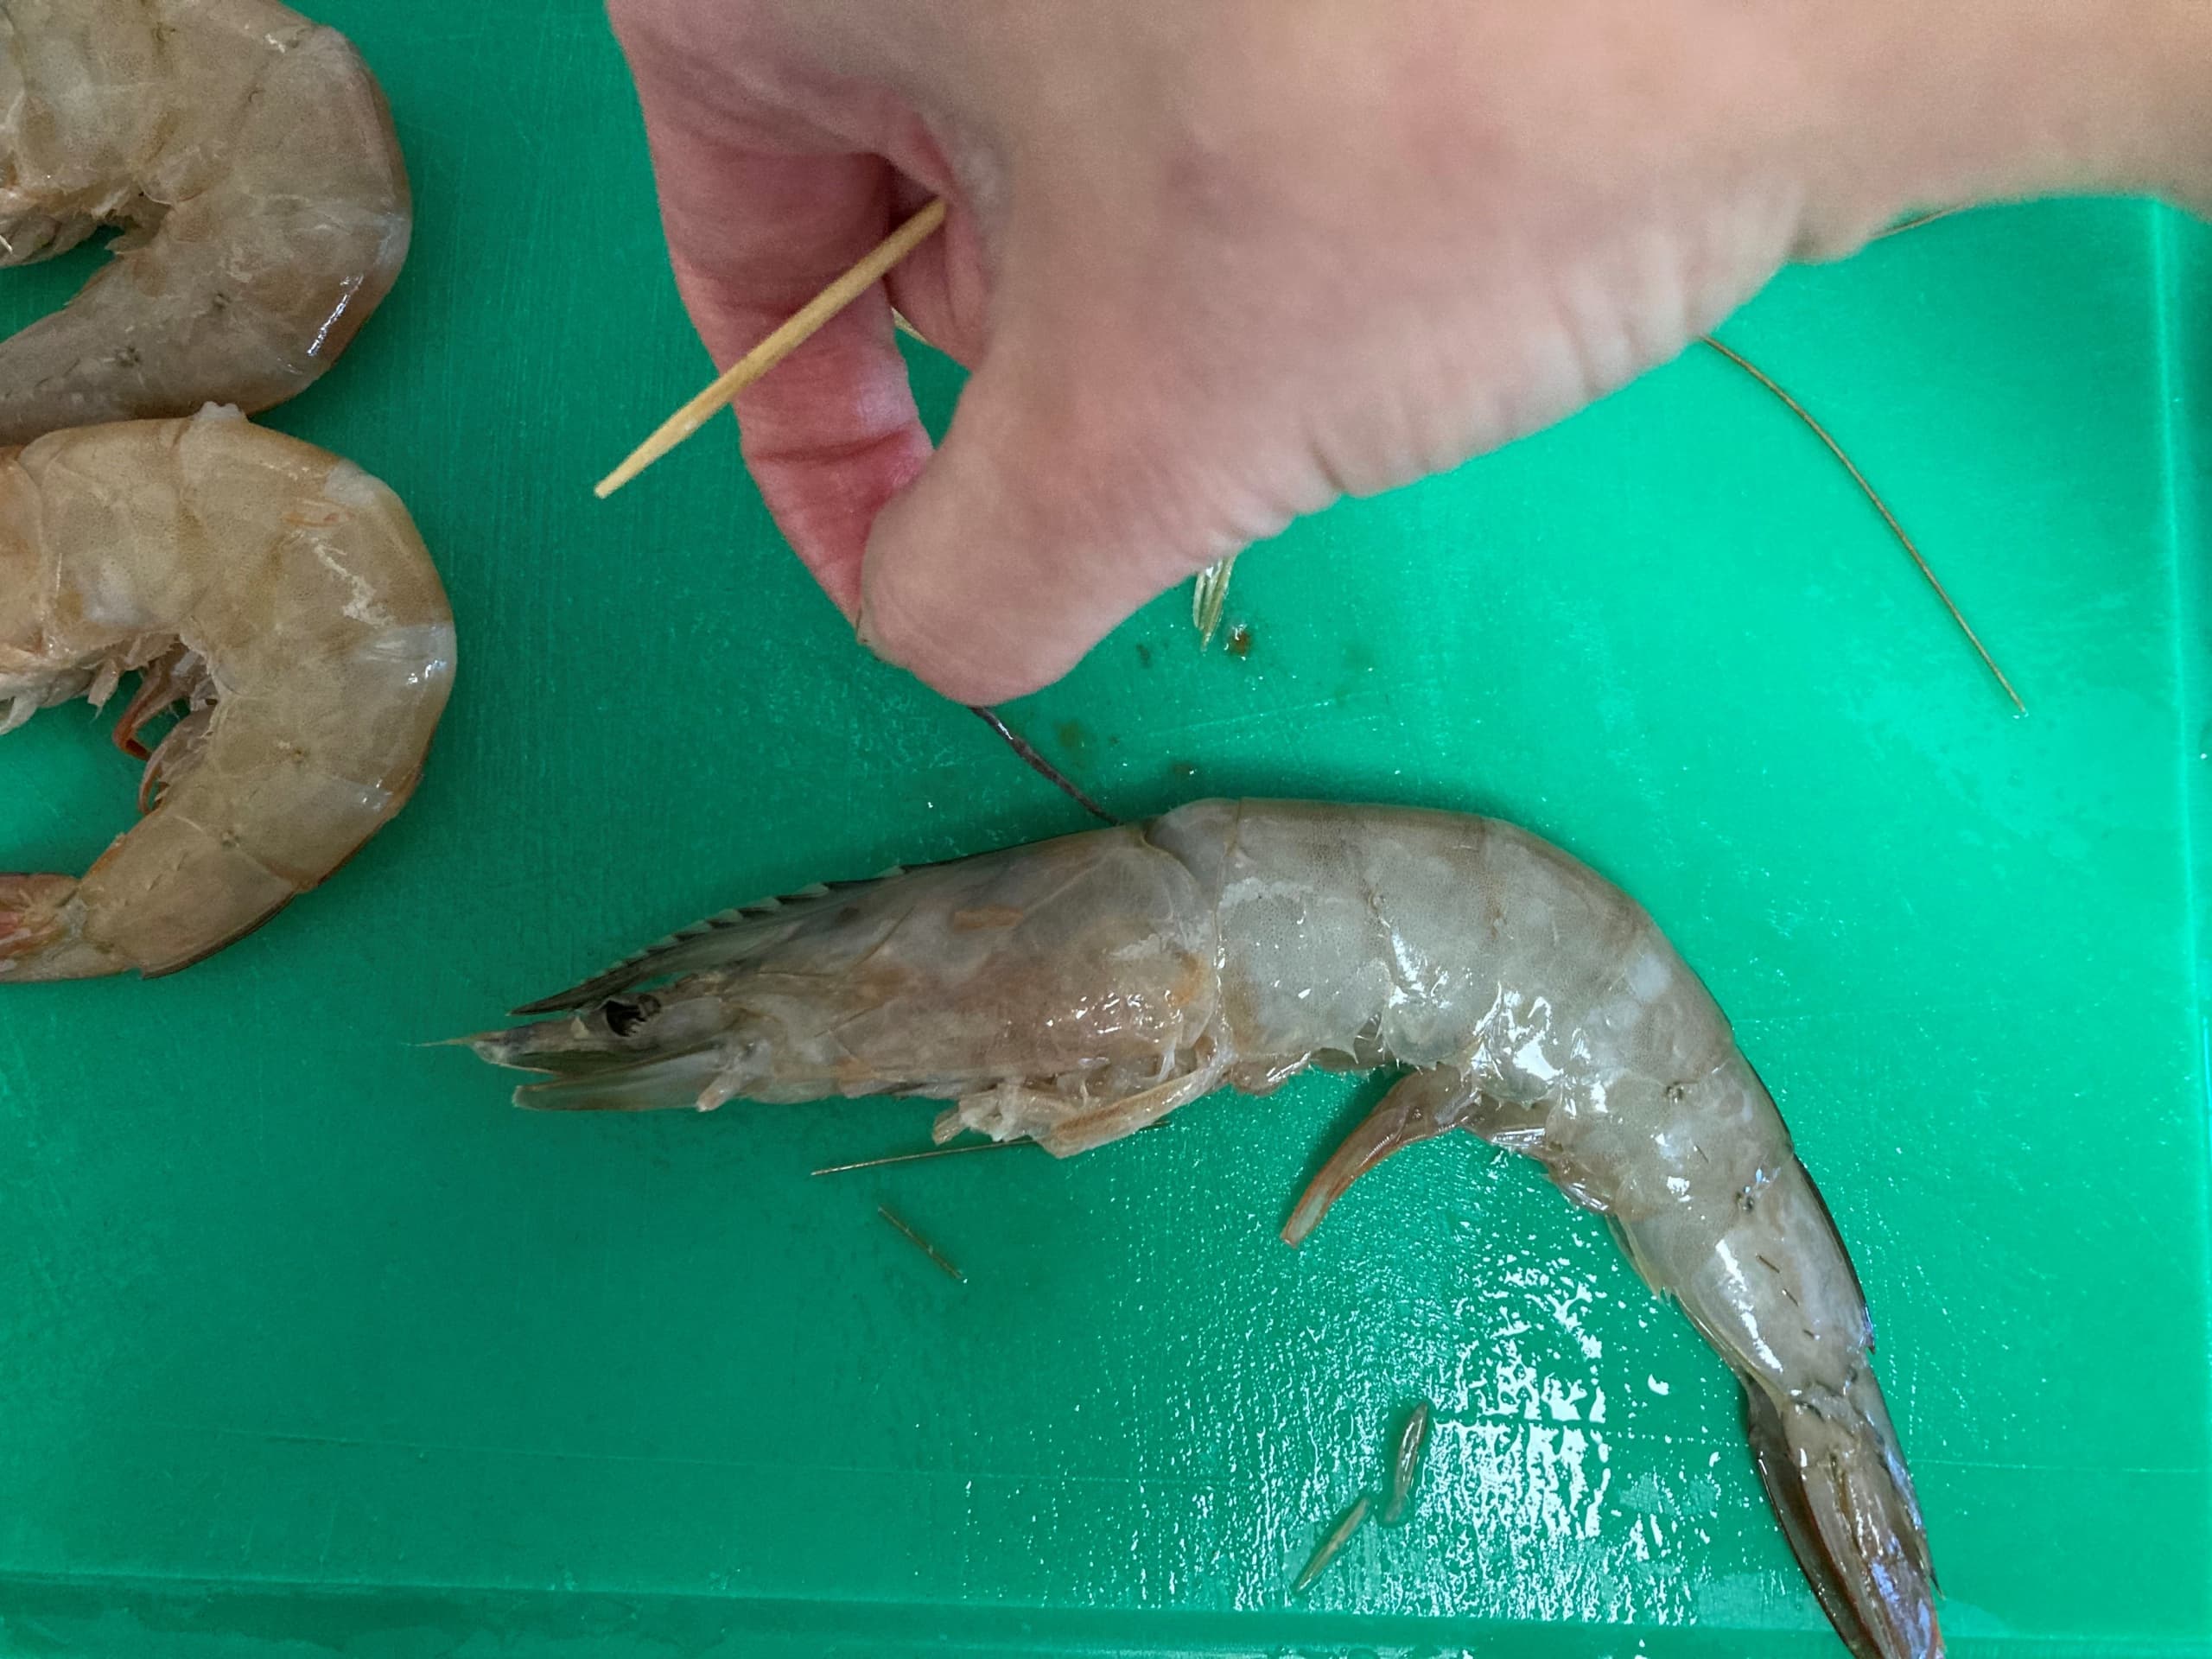
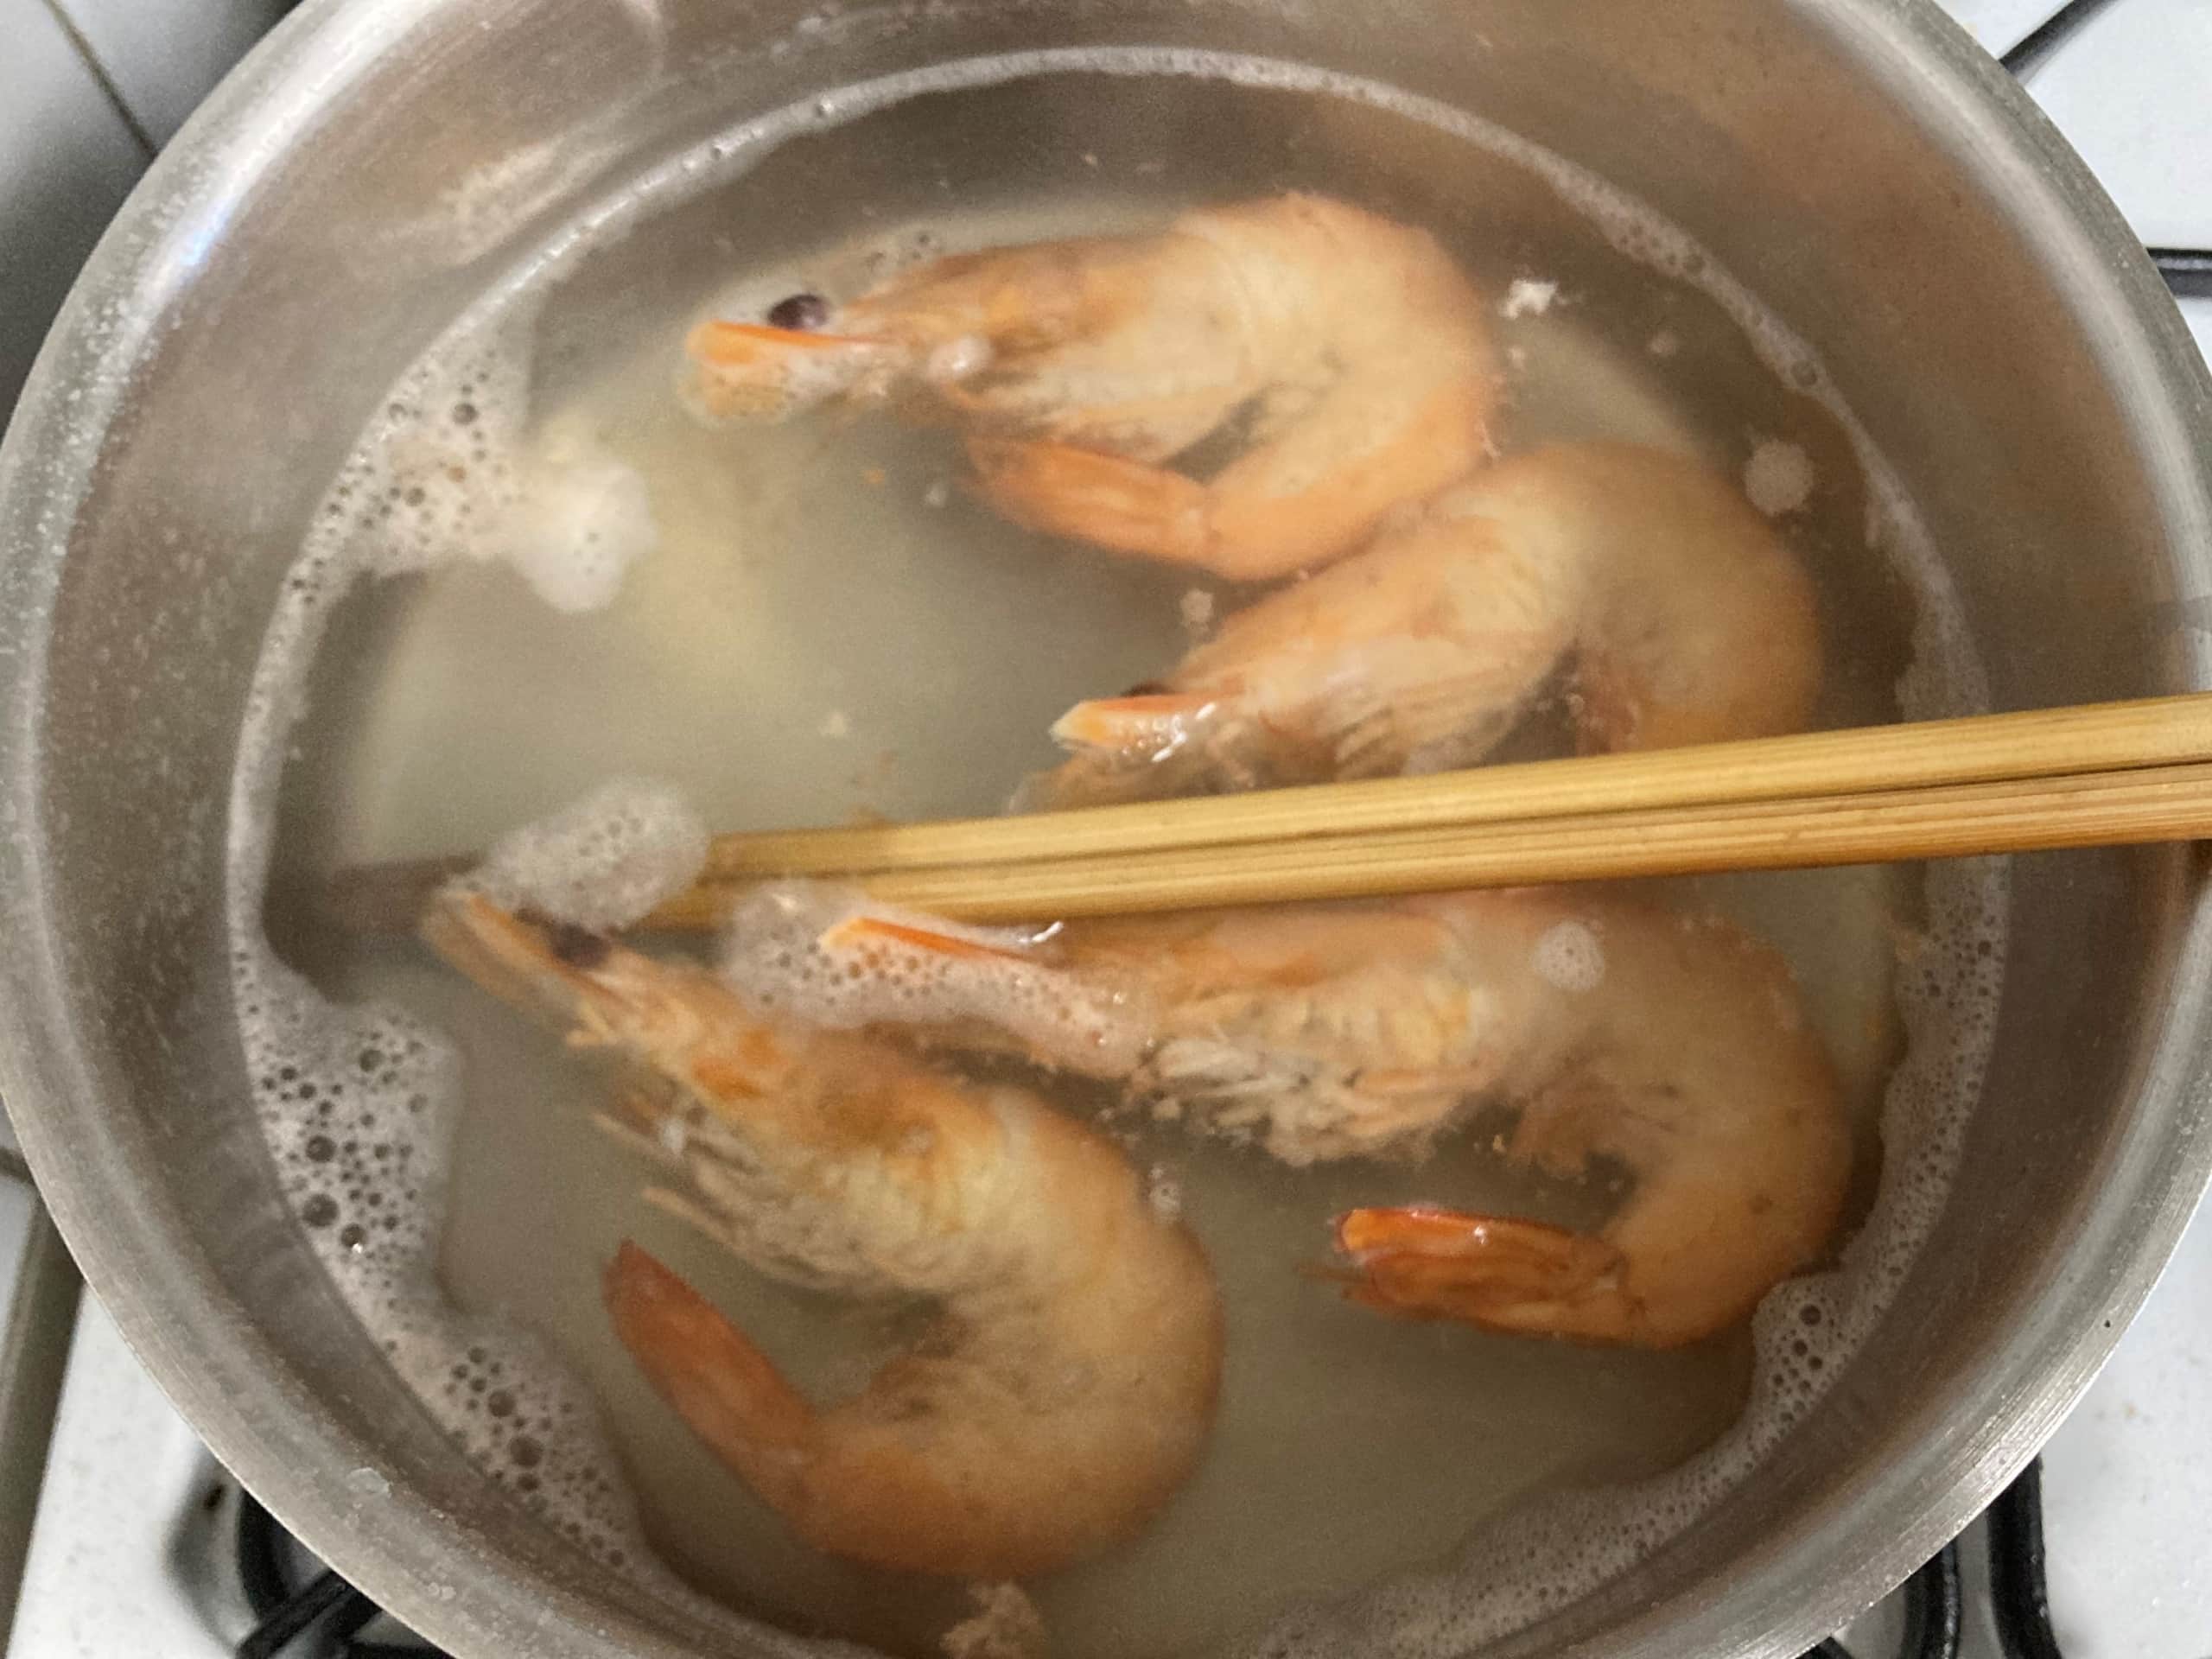
- Trim off the antennae and tail tips of the shrimp, and remove the intestines with a toothpick. Heat 3% salt water, add shrimp and let boil in the salty water. (If you boil them slowly at just below boiling temperature, they will become the most tender.)
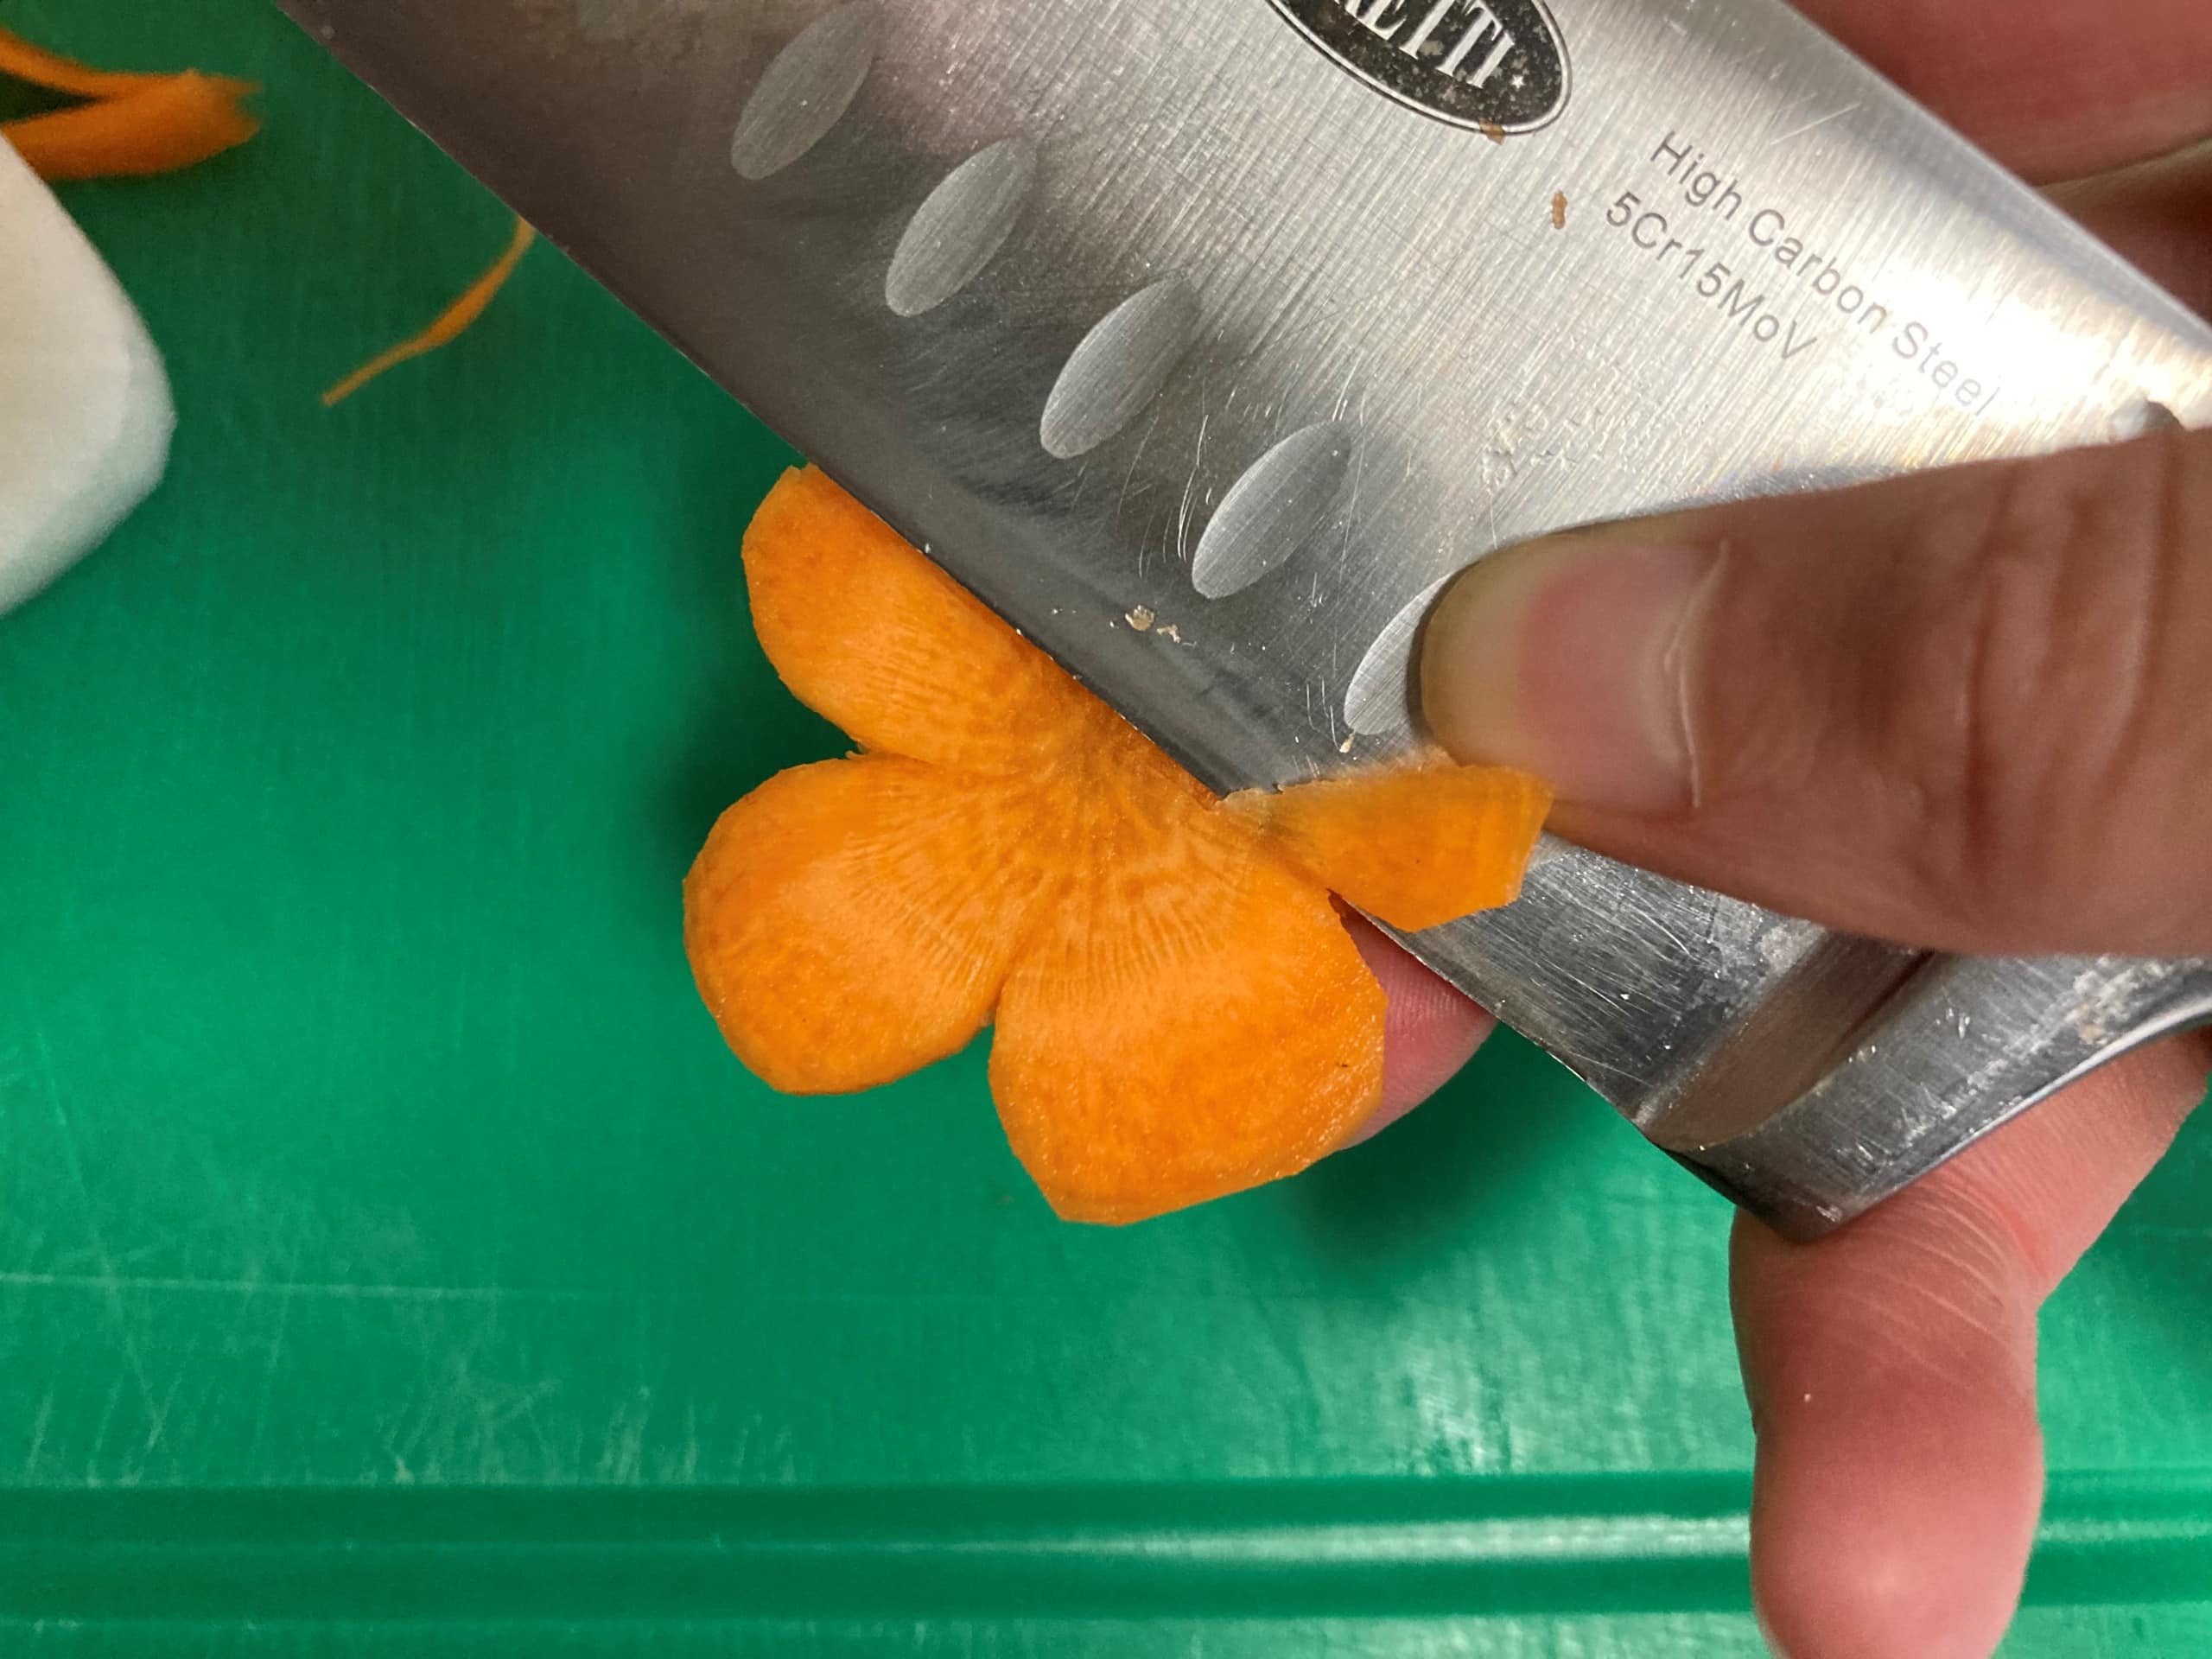
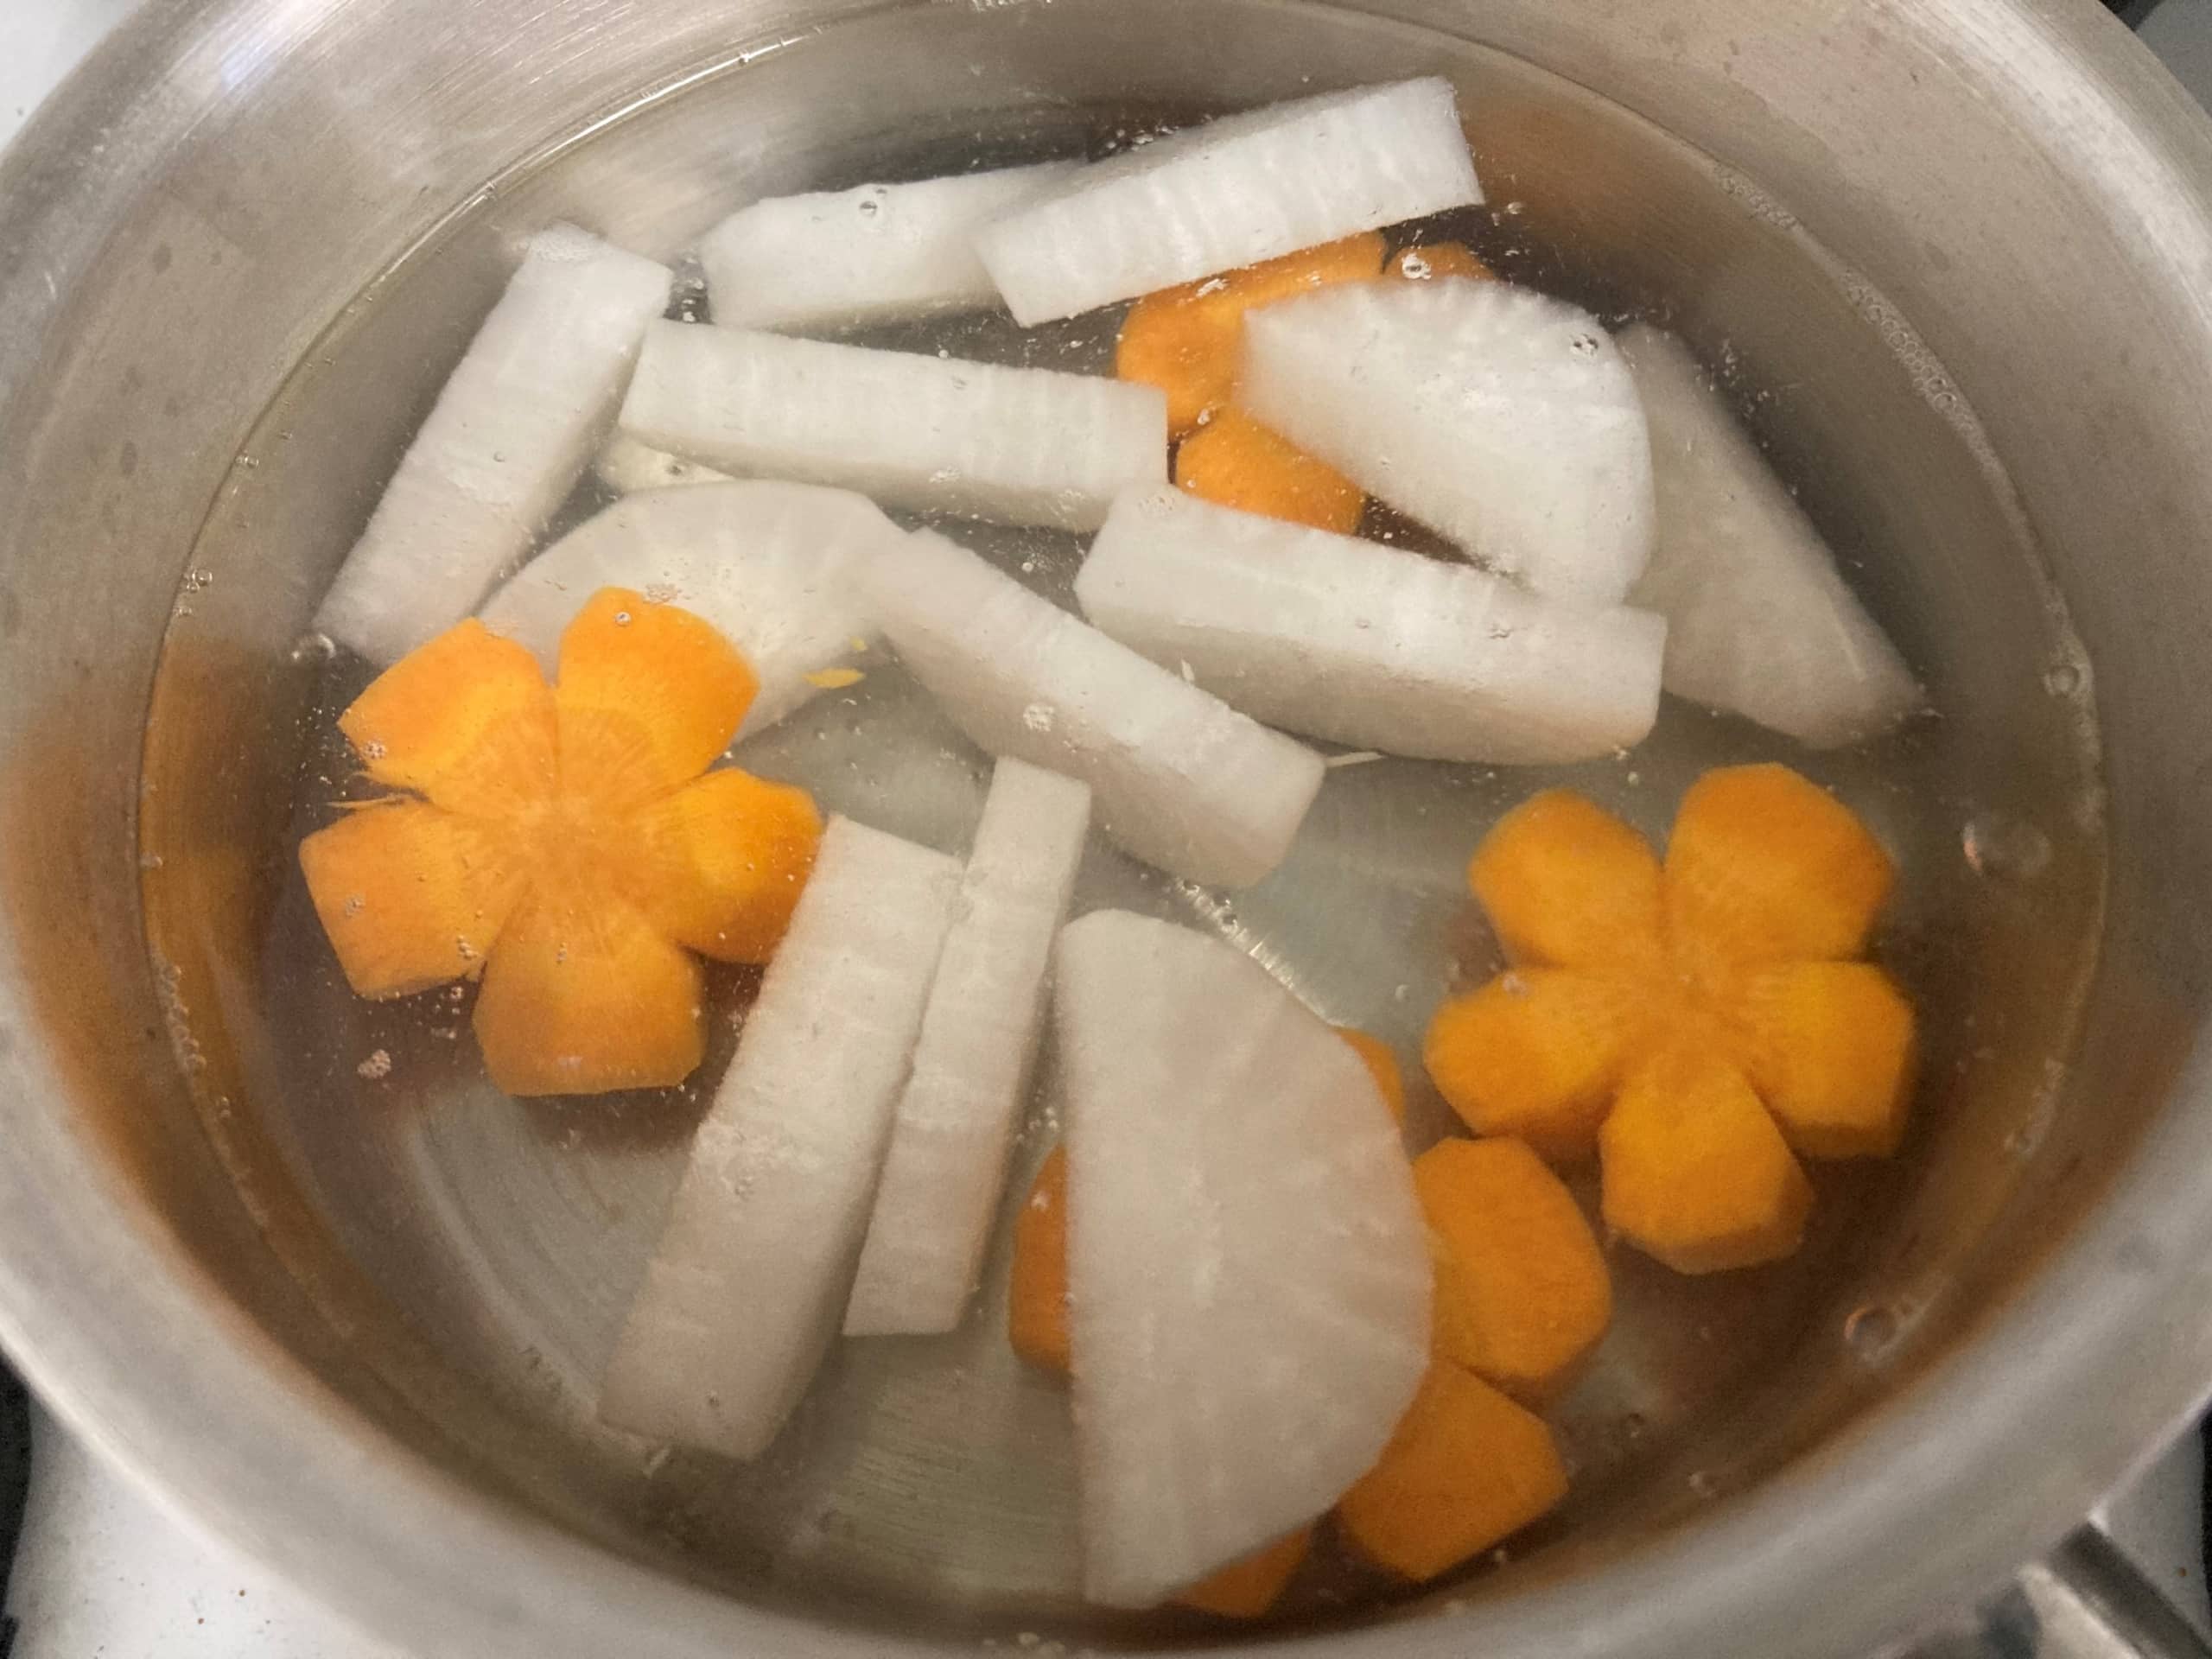
- Cut carrots and daikon radish into 7-9 mm thick pieces. (It’s a bit time consuming, but you can cut the radish into gingko leaf shapes, and cut the carrots into flower shapes for a more luxurious look!)
- Place carrots and radish in a small pot and parboil for about 10 minutes.
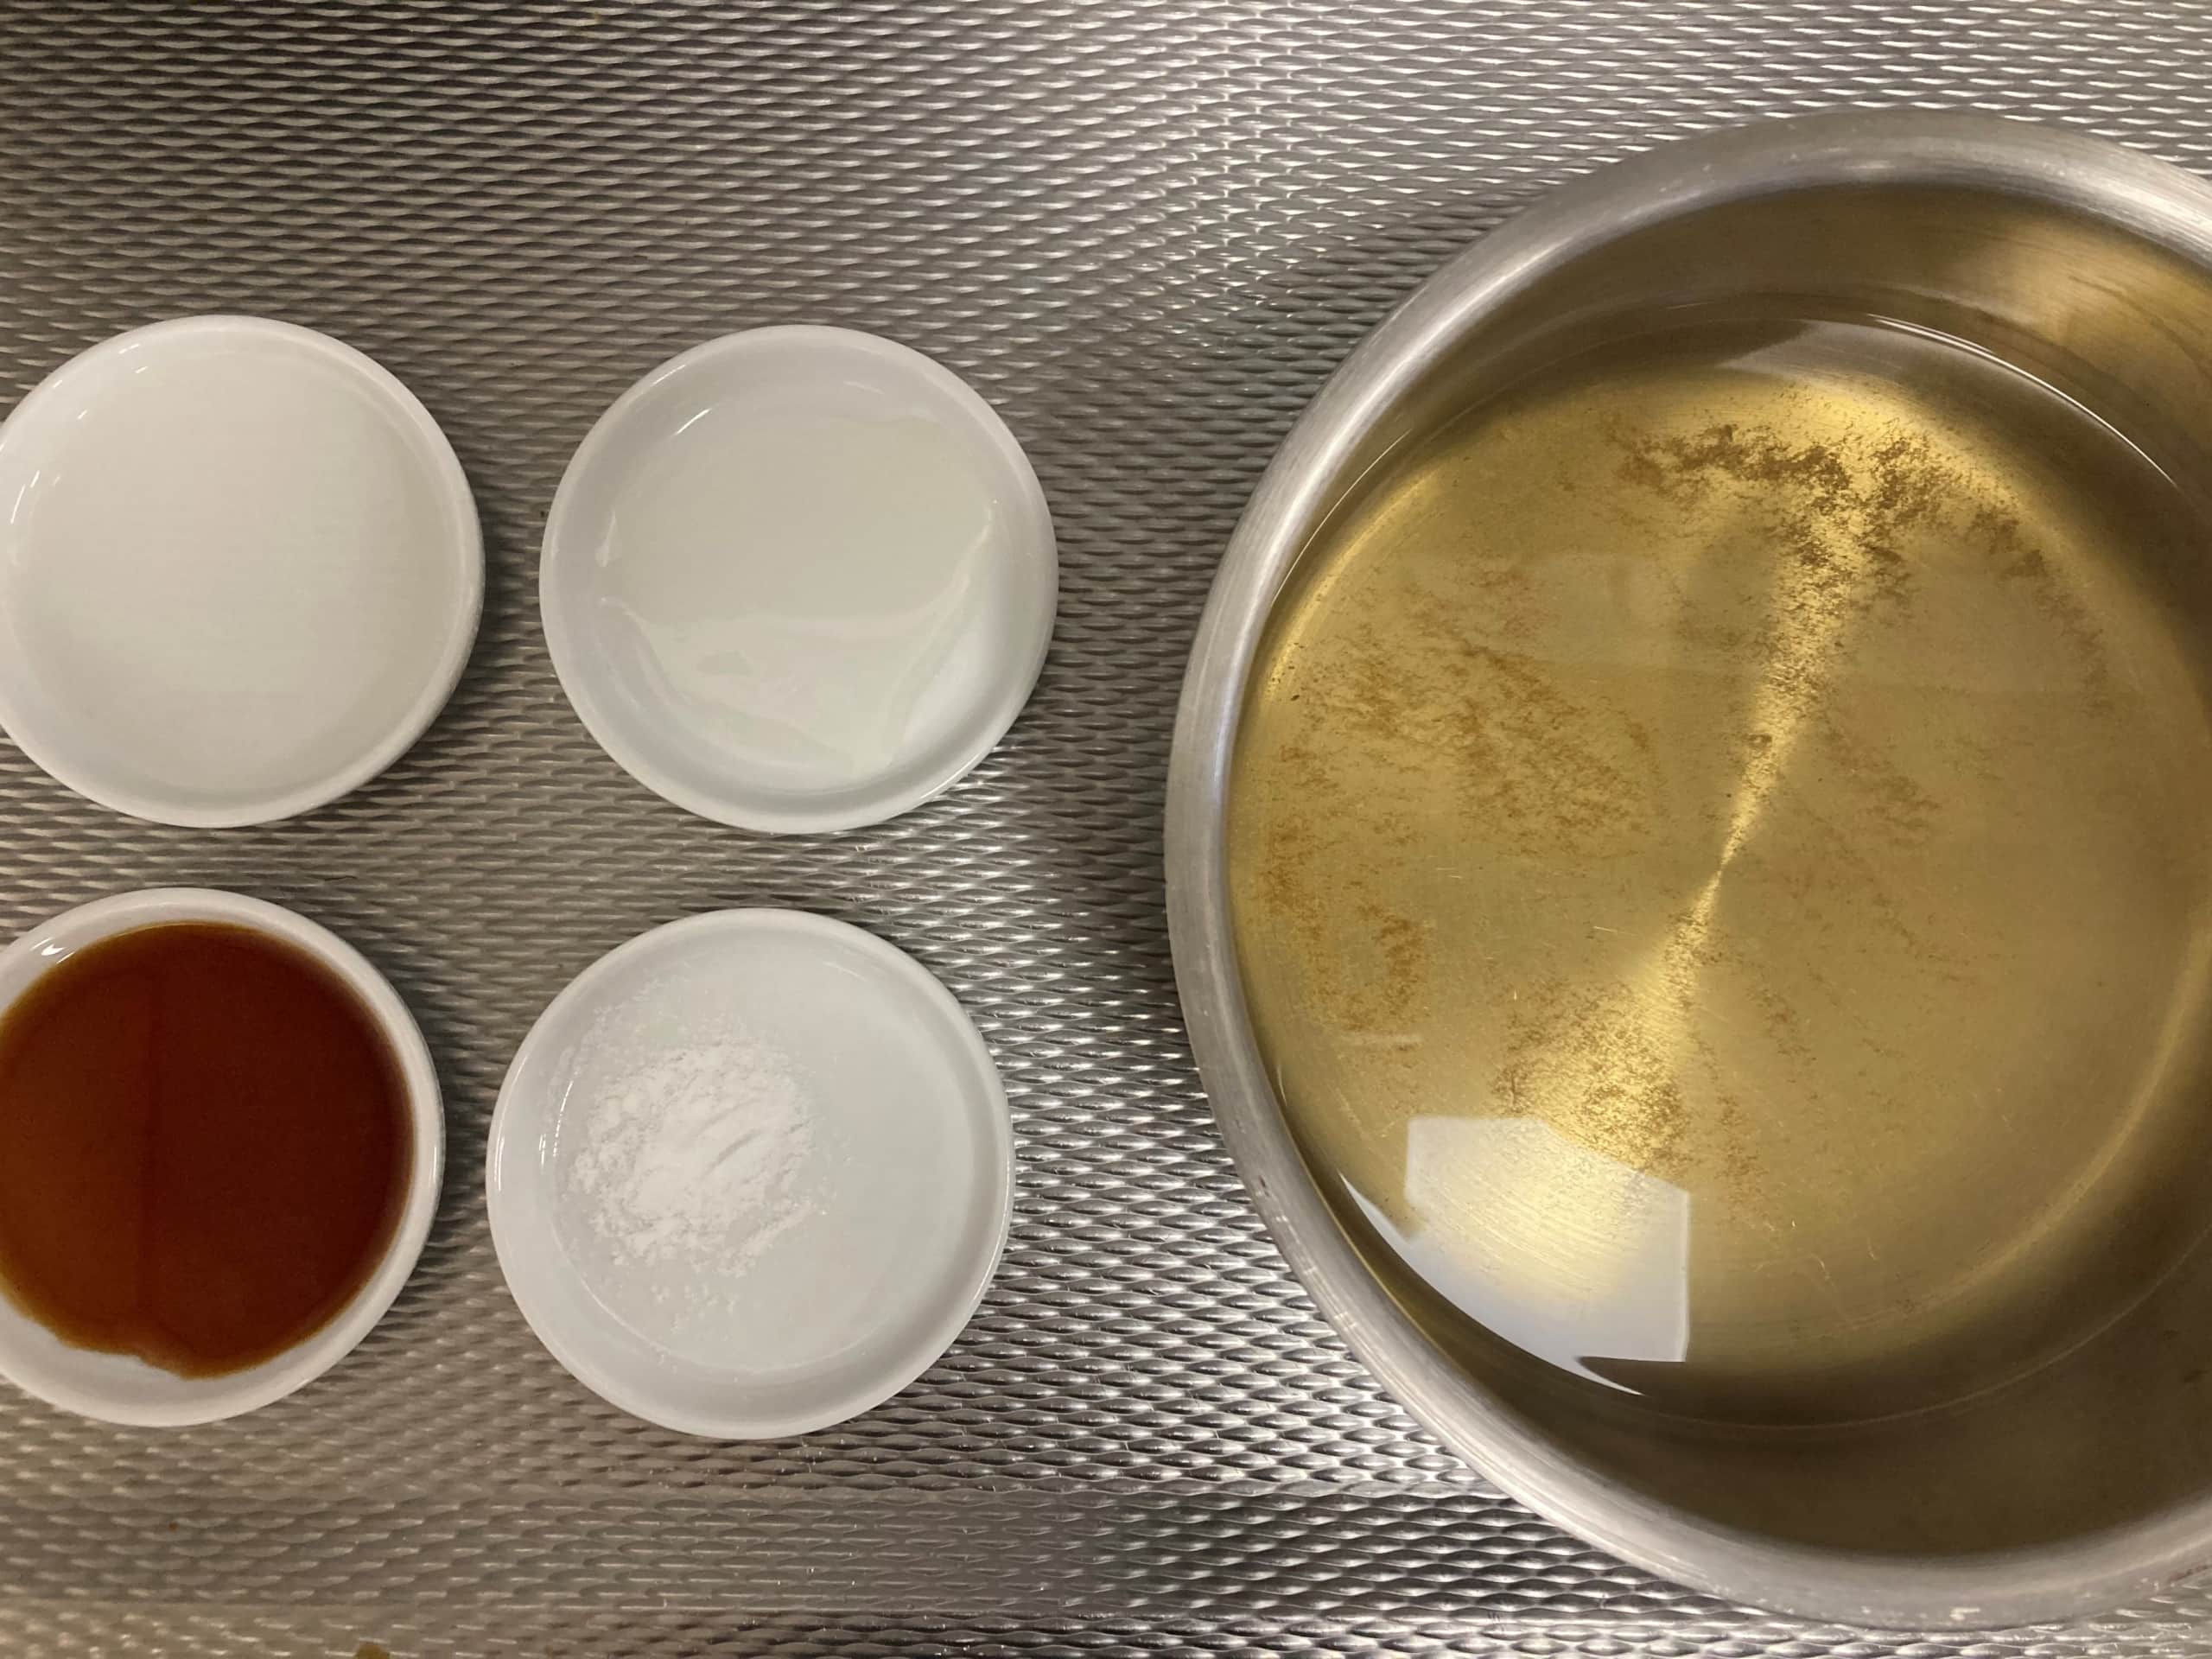
- Put the base from step 2 into a pot. Add sake, soy sauce, mirin, and salt and bring to a boil over medium heat. Add the carrots and radish and bring to a boil.
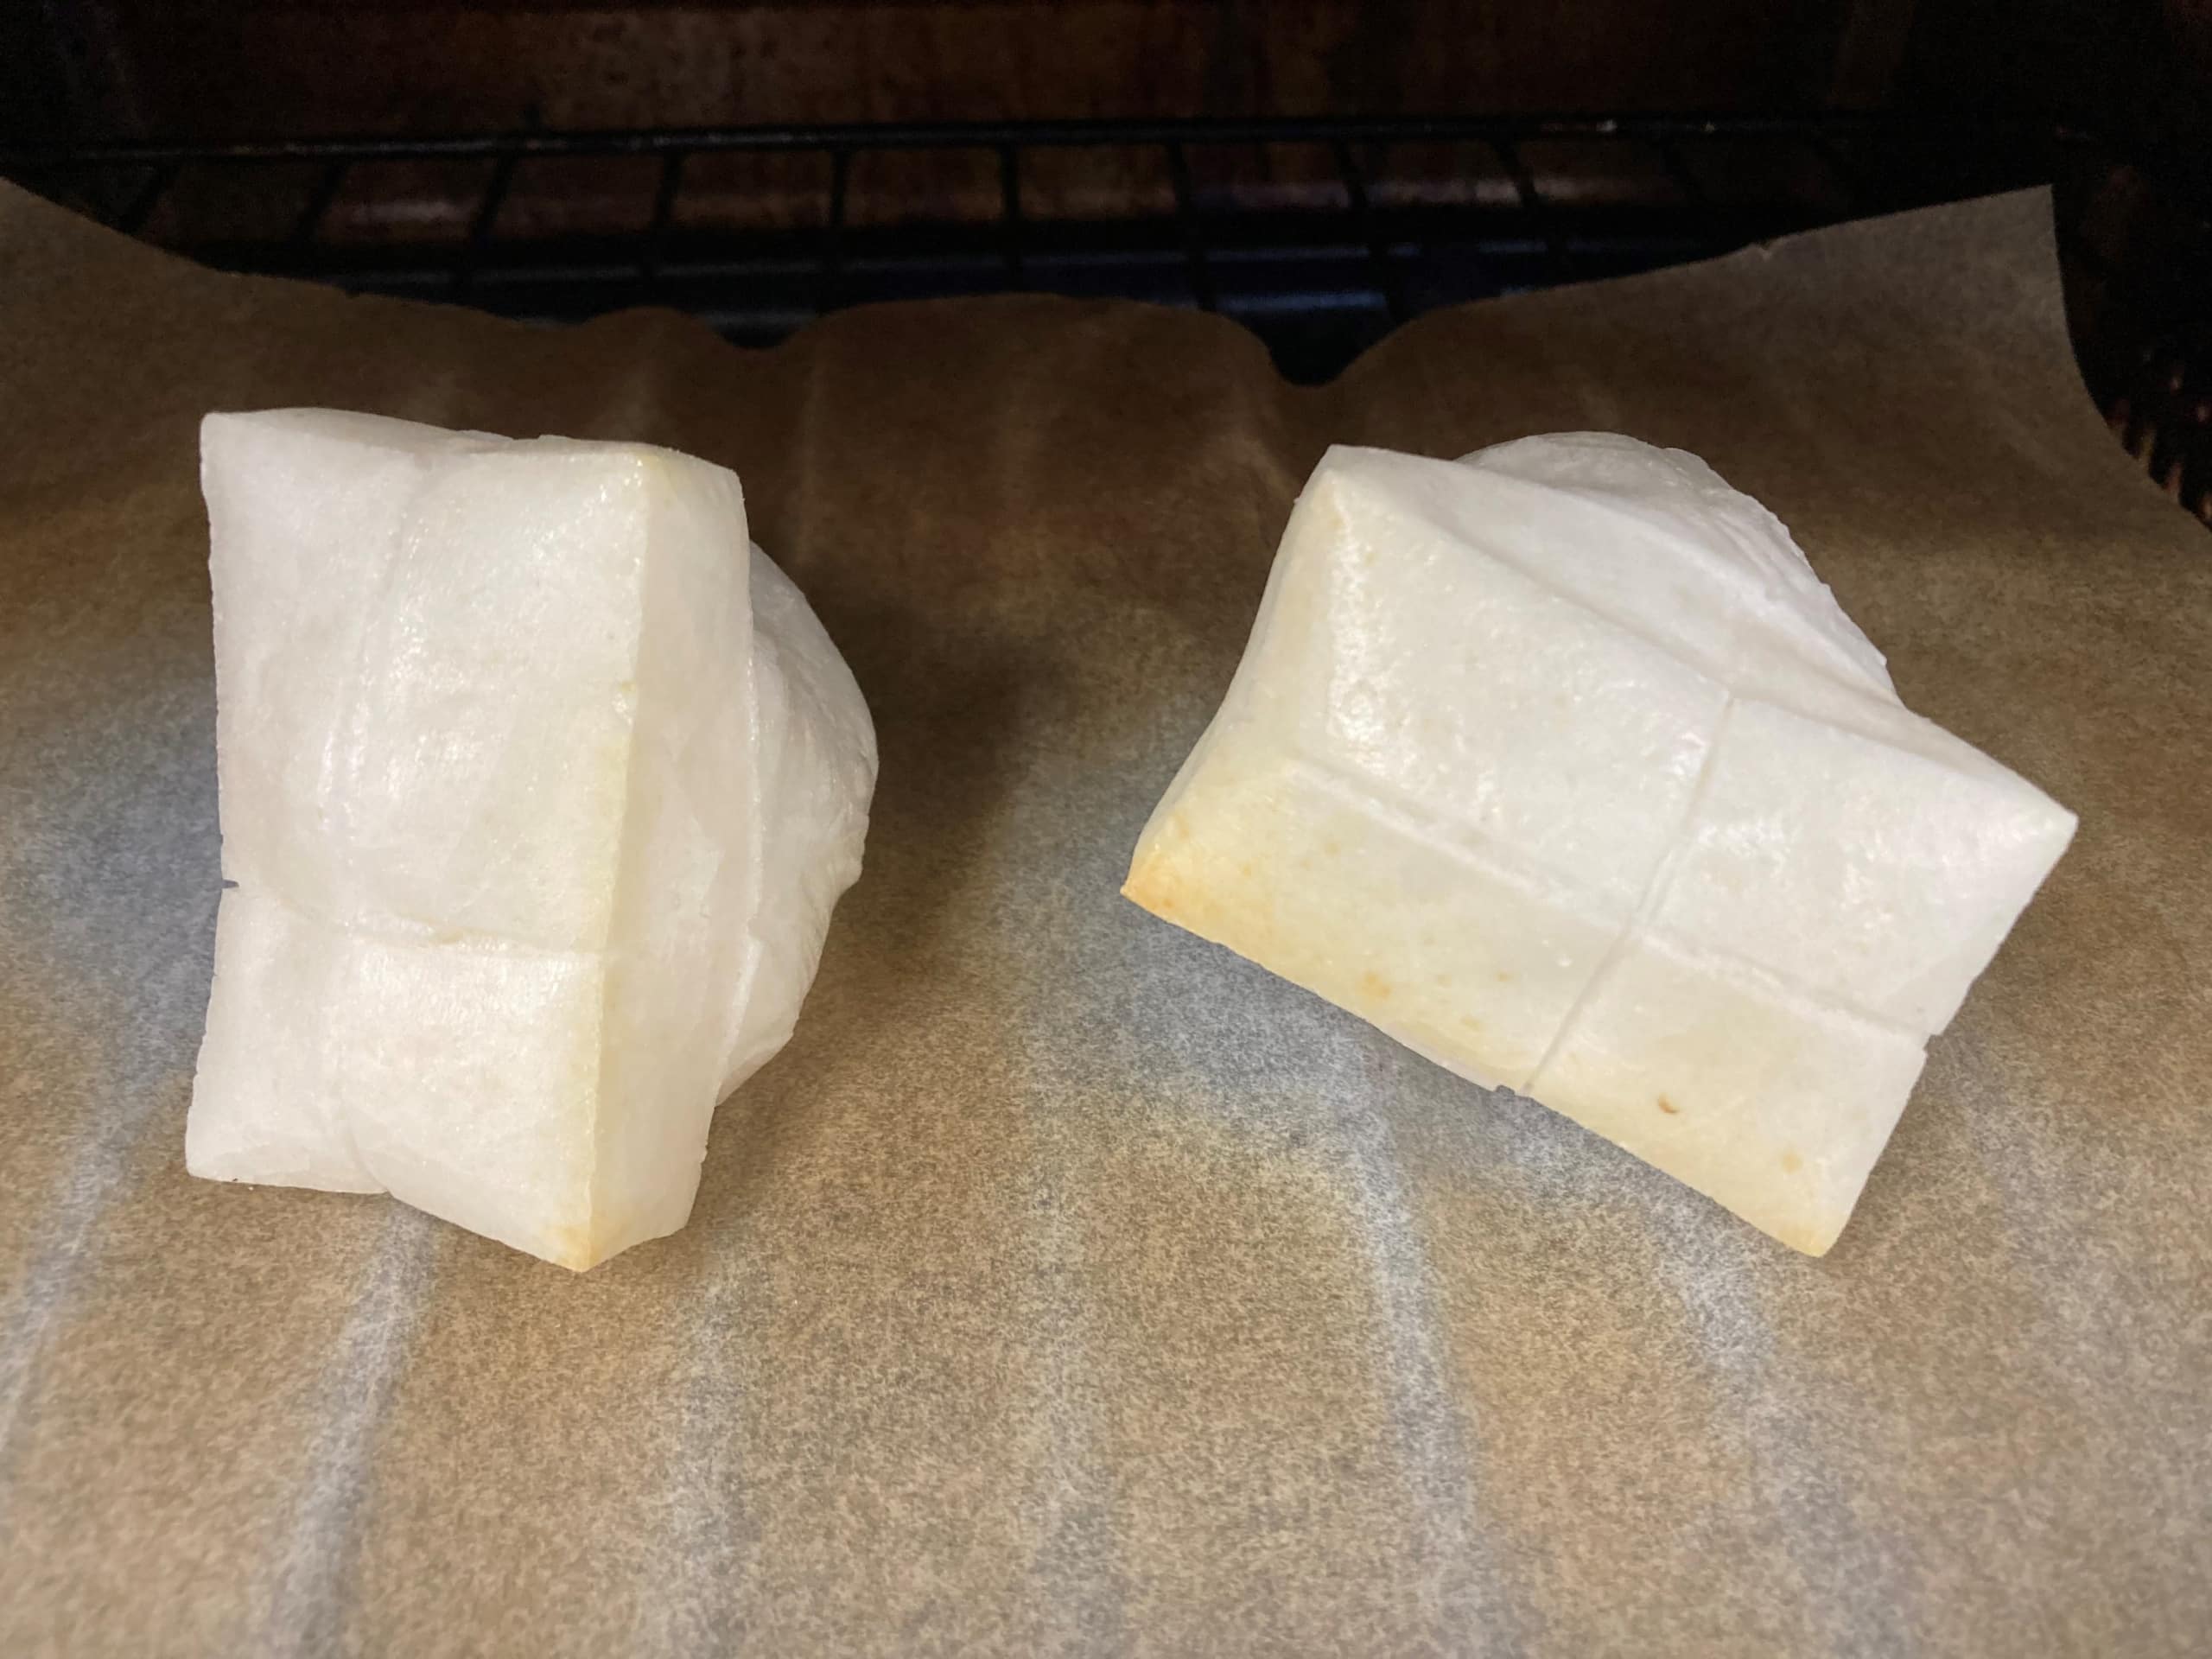
- Bake mochi in the oven.
- Put the mochi and the result from step 5 into a bowl. Do so by first placing the solid bits and then pouring in the liquid. Add yellowtail, shrimp, and kamaboko, and finally top with mitsuba leaves and salmon roe.
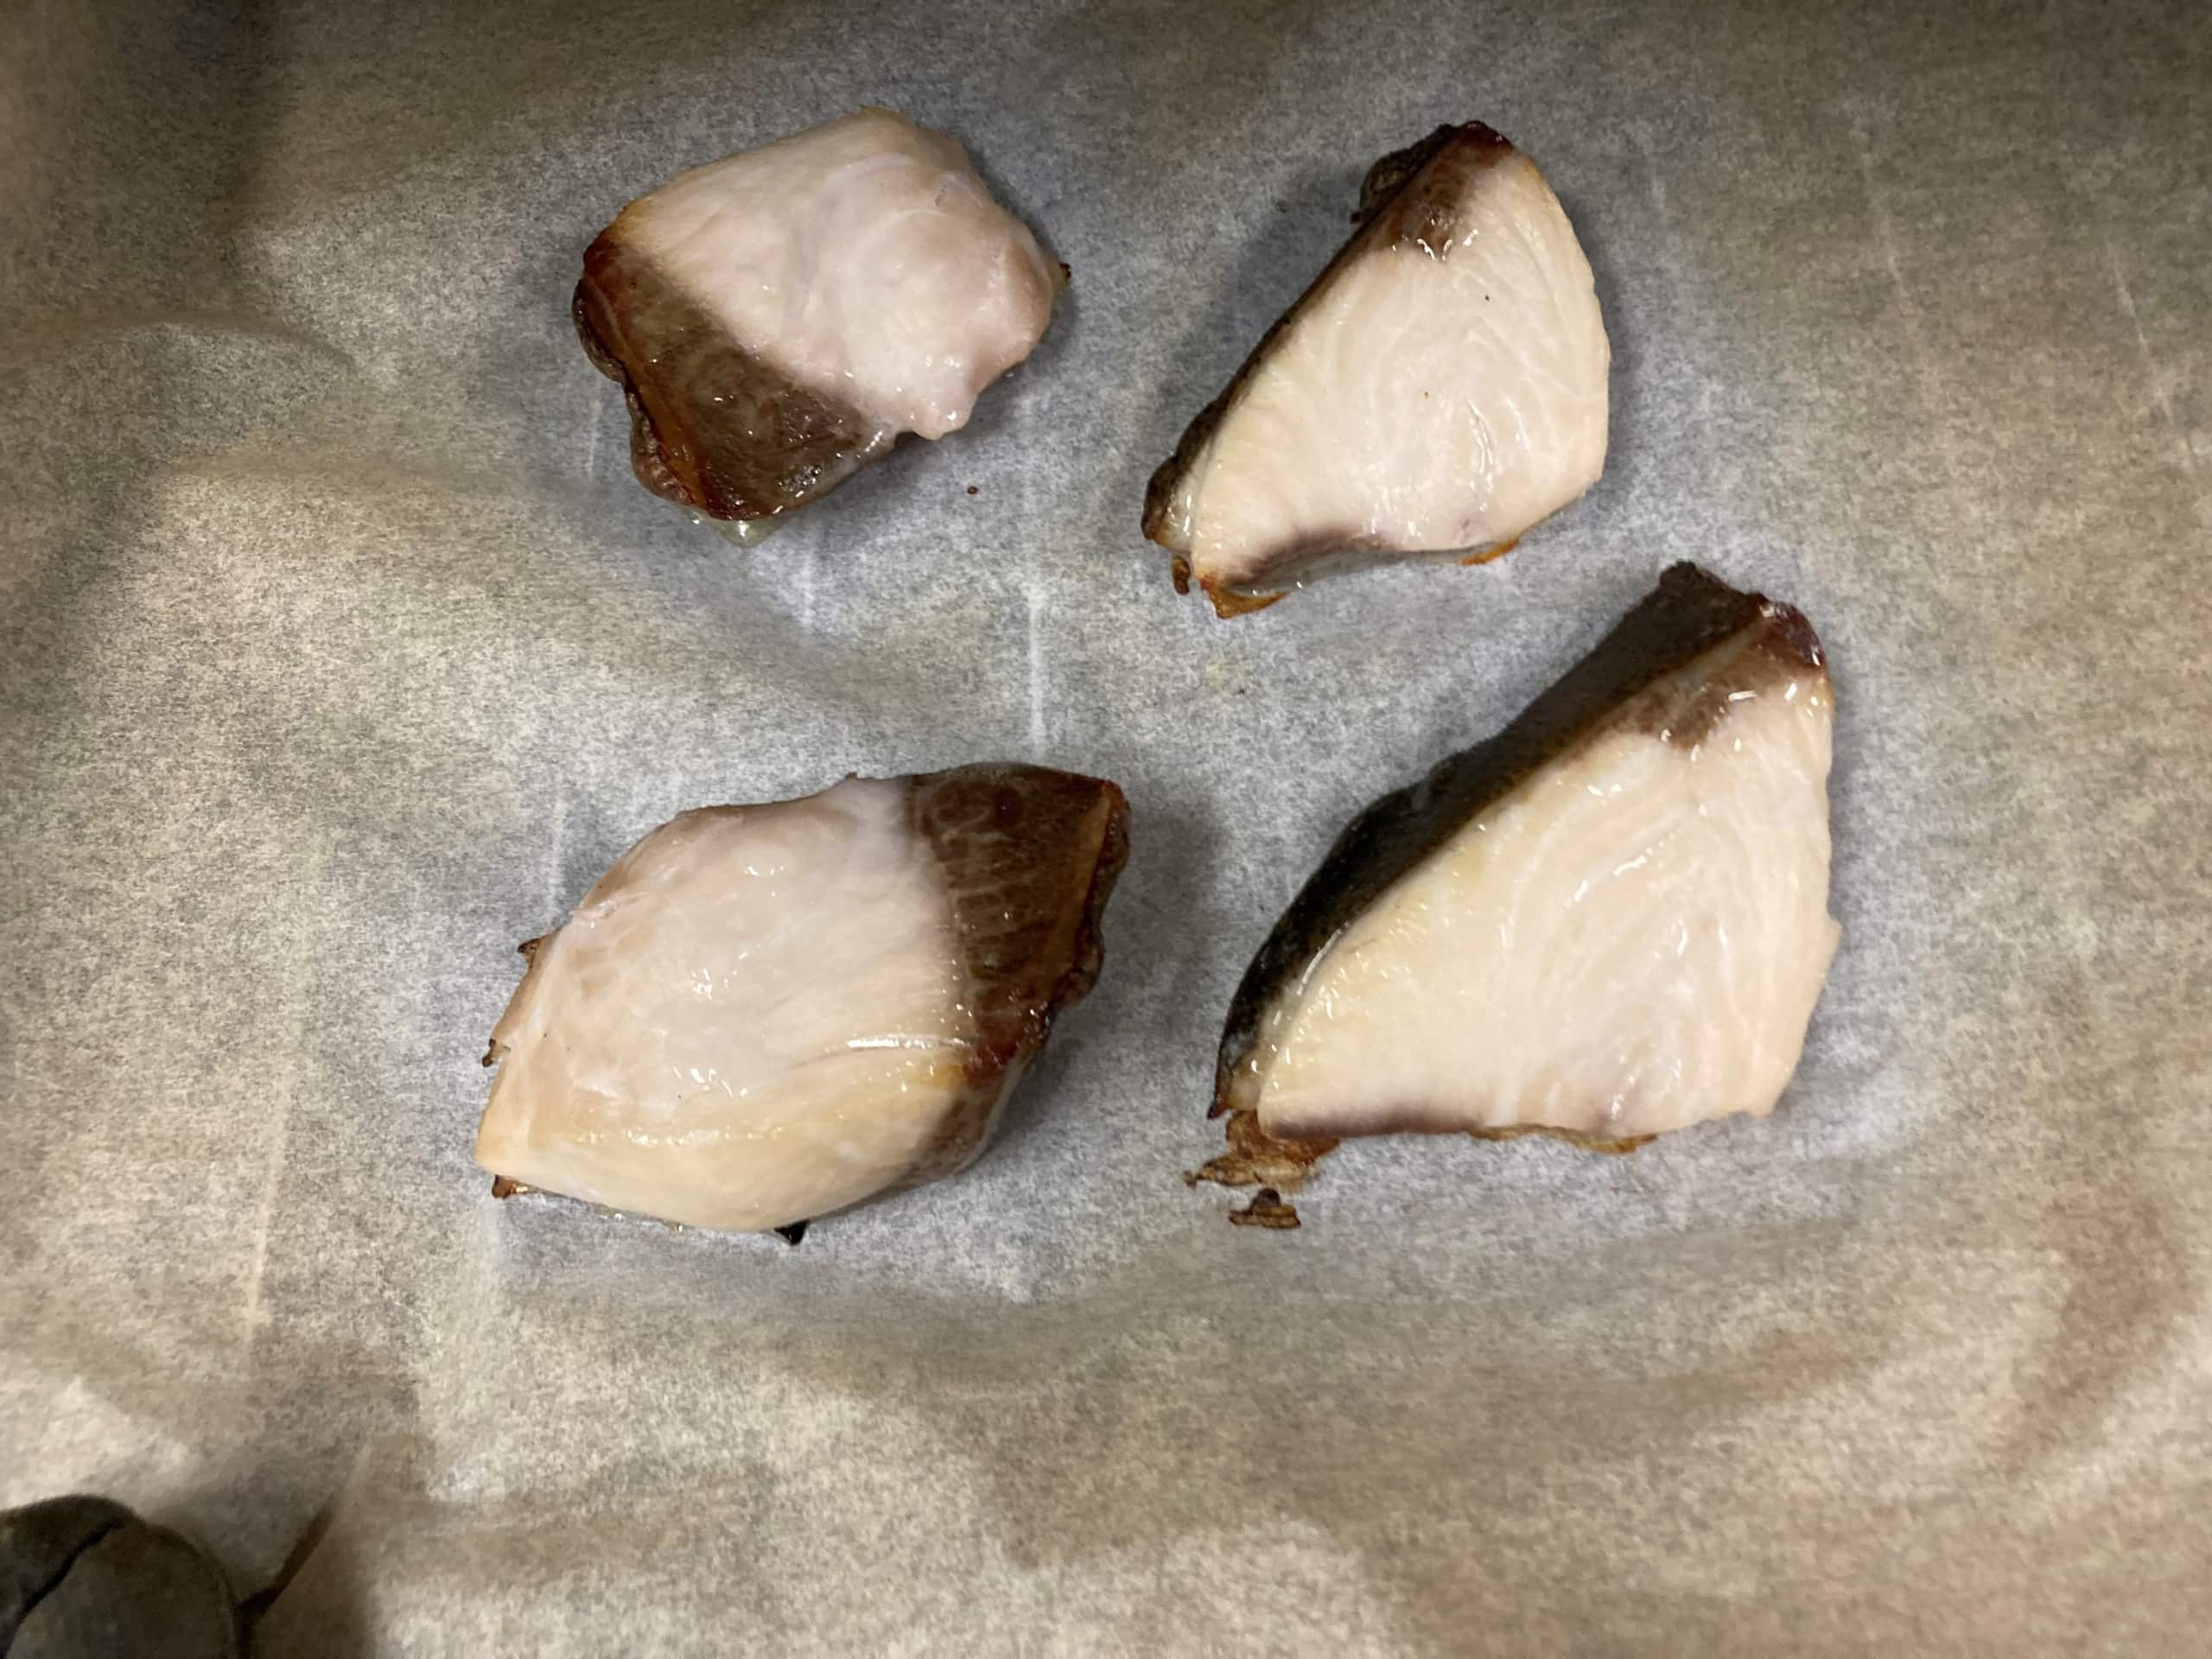

You can boil yellowtail, but it's better to season it and bake it in the oven to bring out the flavor and aroma, making it even more delicious!
If you want to add spinach for color, boil it quickly in 1% salt water before adding it.
If you want to add spinach for color, boil it quickly in 1% salt water before adding it.

